Full Connection Mapping
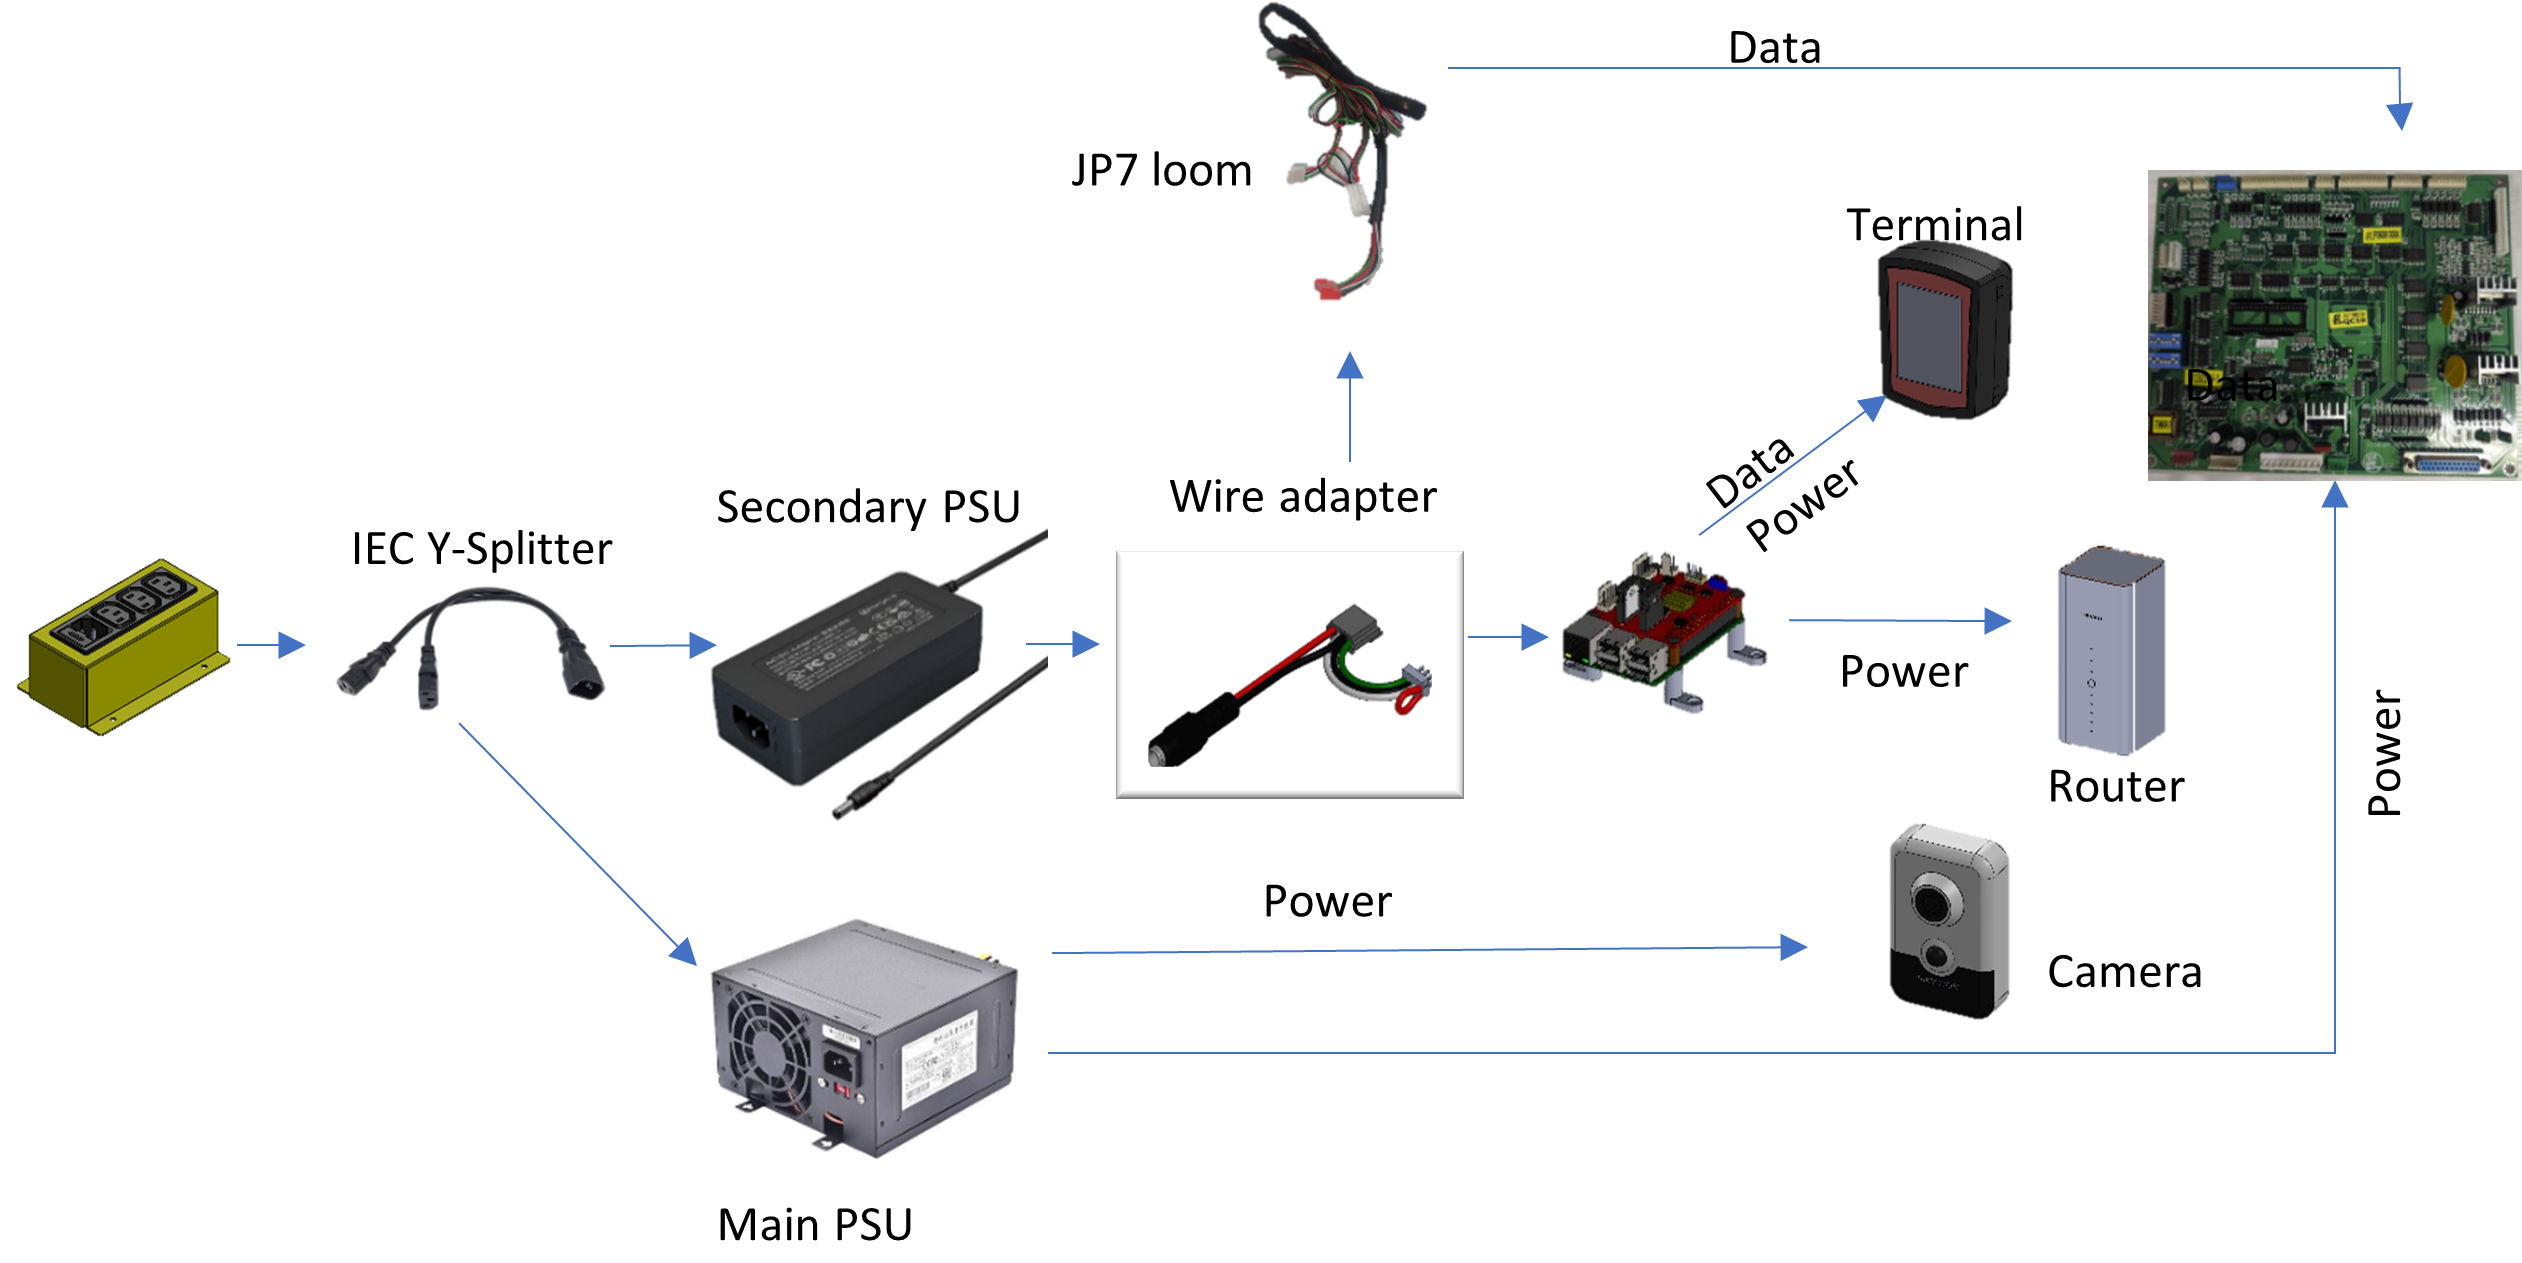
Parts:
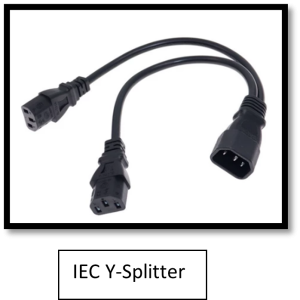
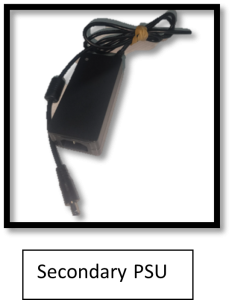
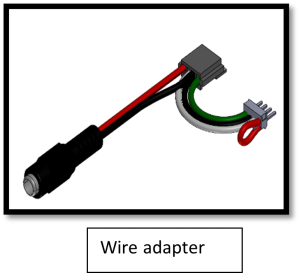
Installation Steps:
- Make sure the machine is unplug from the Mains/Wall outlet
- Open the back of the machine and pull out the drawer of the mainboard.
- Unplug the 2nd IEC power wire to free one socket in the yellow junction box. Refer photo below
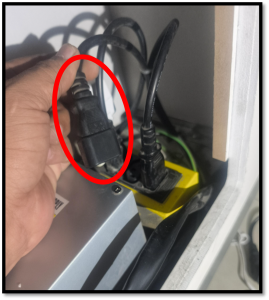
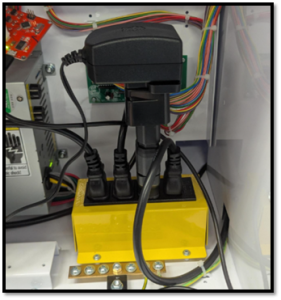
For Iron Claw: disconnect the Raspi instead
4. Connect the IEC Y-Splitter in the newly freed up socket.
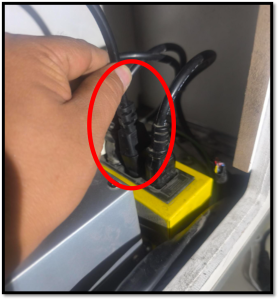
5. Connect the unplug IEC plug you just disconnected in step 3, into one of the IEC Y-splitters male connector.
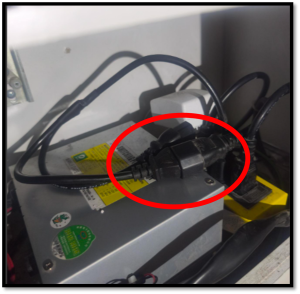
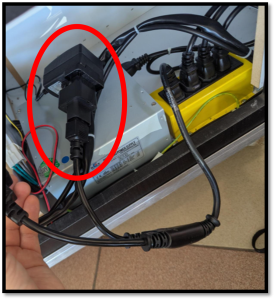
For Iron Claw: Connect the Raspi instead
6. Connect the other male connector of the IEC splitter to the secondary power supply.
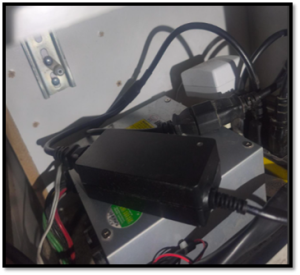
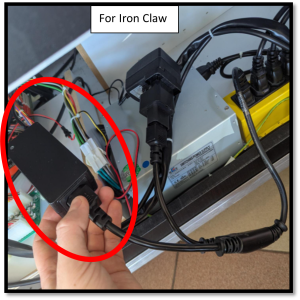
7. Disconnect the JP7 connector from the Raspi
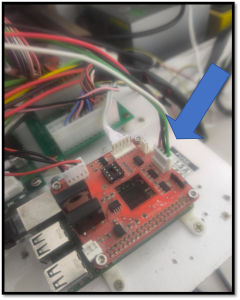
8. Connect the Wire adaptor to the Raspi
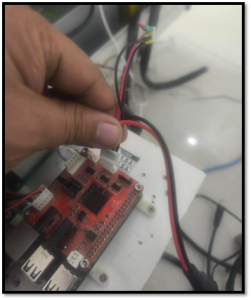
9. Connect JP7 to the Wire adapter
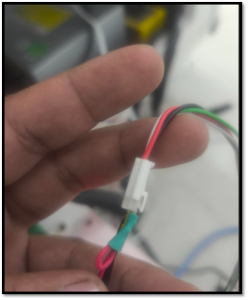
10. Connect the PSU output to the wire adapter and make sure it was pushed all the way through
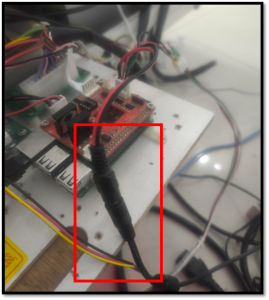
11. Positioned the PSU in a secure place.
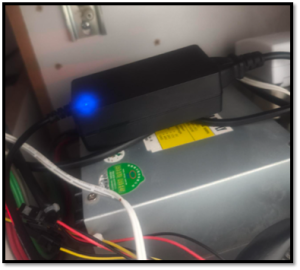
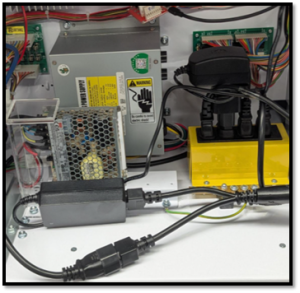
For Iron Claw: You can lay it on the floor in front of the main PSU
12. Tidying up the wirings. Secure every wirings/loom as tidy as possible. Contact Tech Support for confirmation of connection.
Do not turn on the machine without the advice of tech support or your state supervisor.
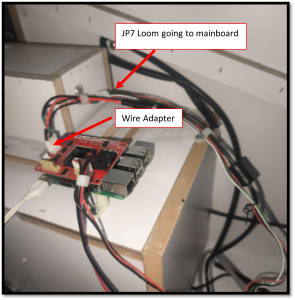
Note: Your machine structure may be different from what is shown in the photo.
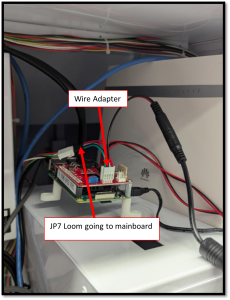
13. Upon advice of the Tech support Turn on the Machine
14. Both Router and Terminal should have Power at this point. A blue light will be visible in the secondary PSU.
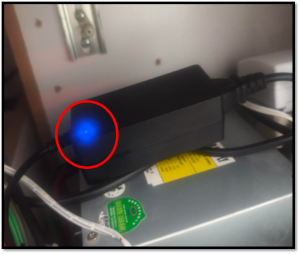
Note: Blue light should be visible on the PSU. If none Please contact tech support
Testing the PSU
- Contact tech support to confirm machine is “ONLINE”
- Test tap to the terminal and it should do the following:
- Give credits – 2 credits per tap
- Terminal should show tap $5.4 before and after tapping your card
- Check log checker and confirm that the play has been logged.
- Inform tech support the log checker report
- Complete transaction and put in comments on the task.