Parts needed:
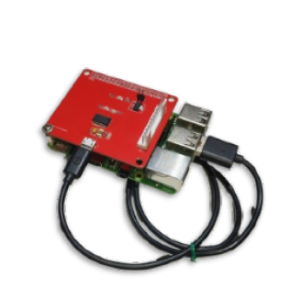
1x LCD Programmer.
Step 1. OPENING THE BACK OF THE MACHINE
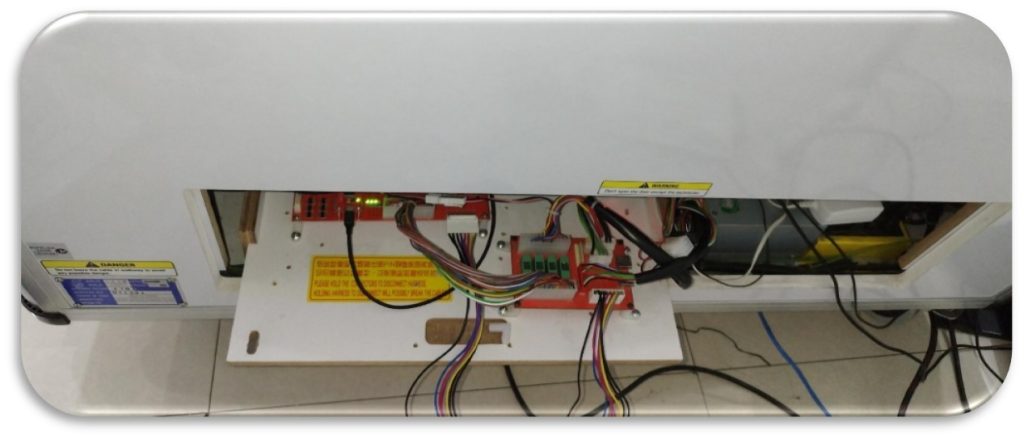
a. While machine is on, open the cover of the machine at the back
Step 2. INSTALLATION OF THE LCD PROGRAMMER
a. Locate the LCD Plug on the Mainboard. (It will say GANTRY EXP on the mainboard)
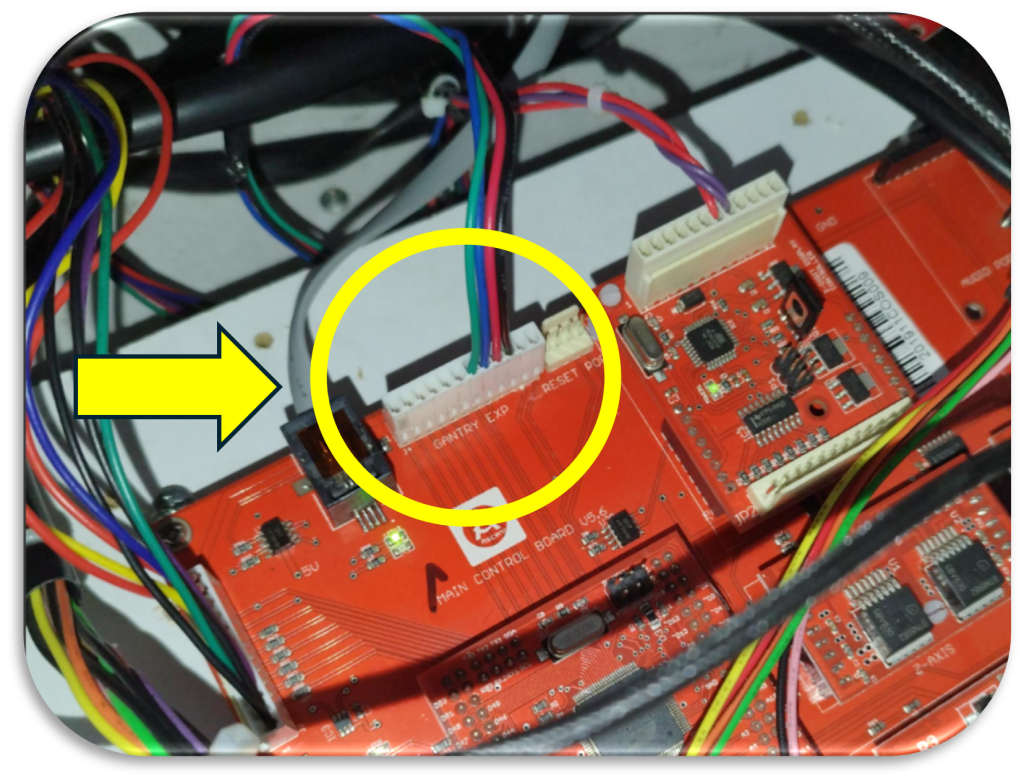
b. Unplug the LCD plug from the board
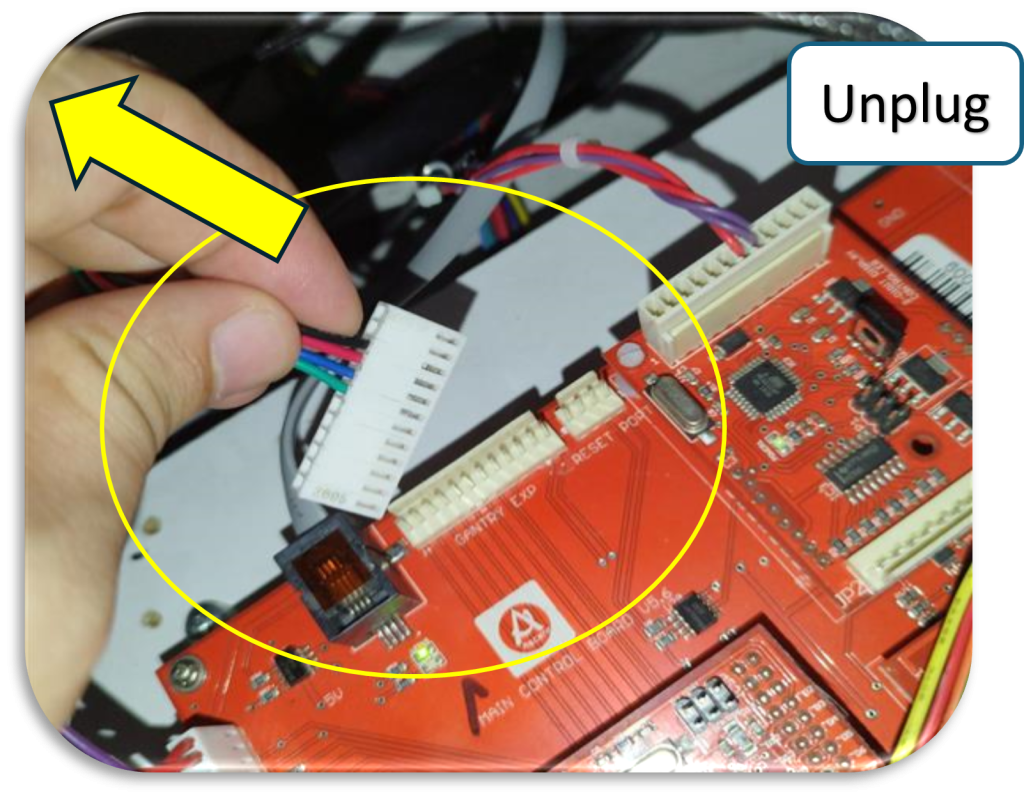
c. And with the LCD Programmer, plug in the LCD plug onto the LCD Programmer
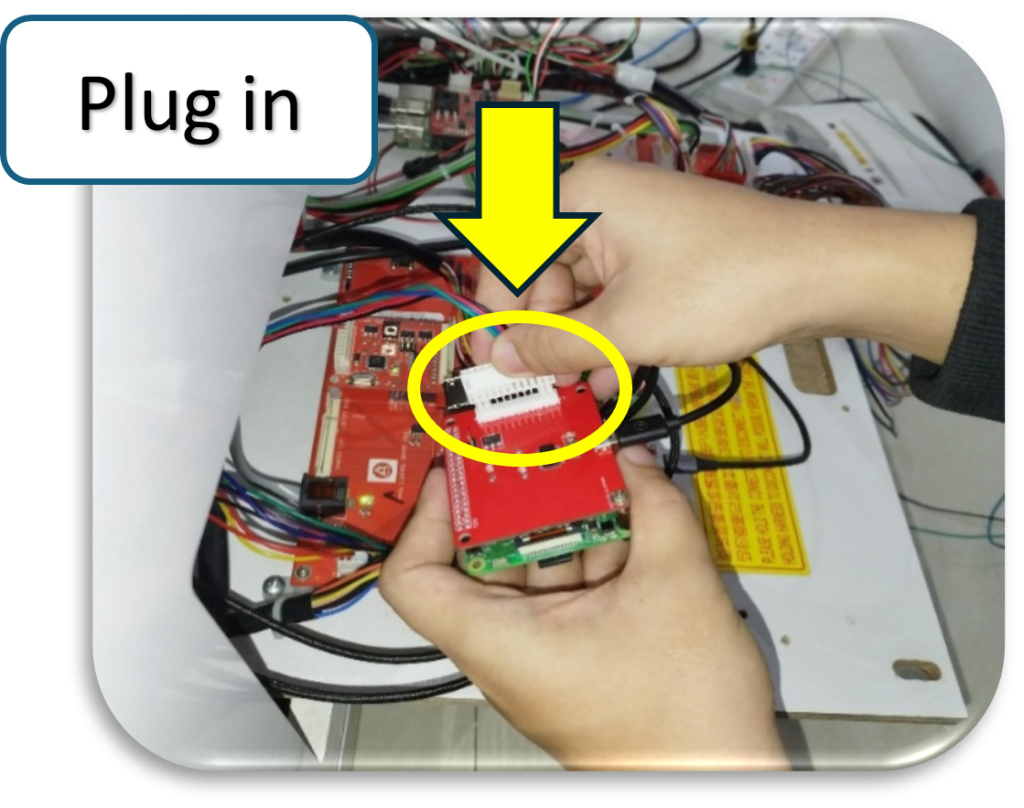
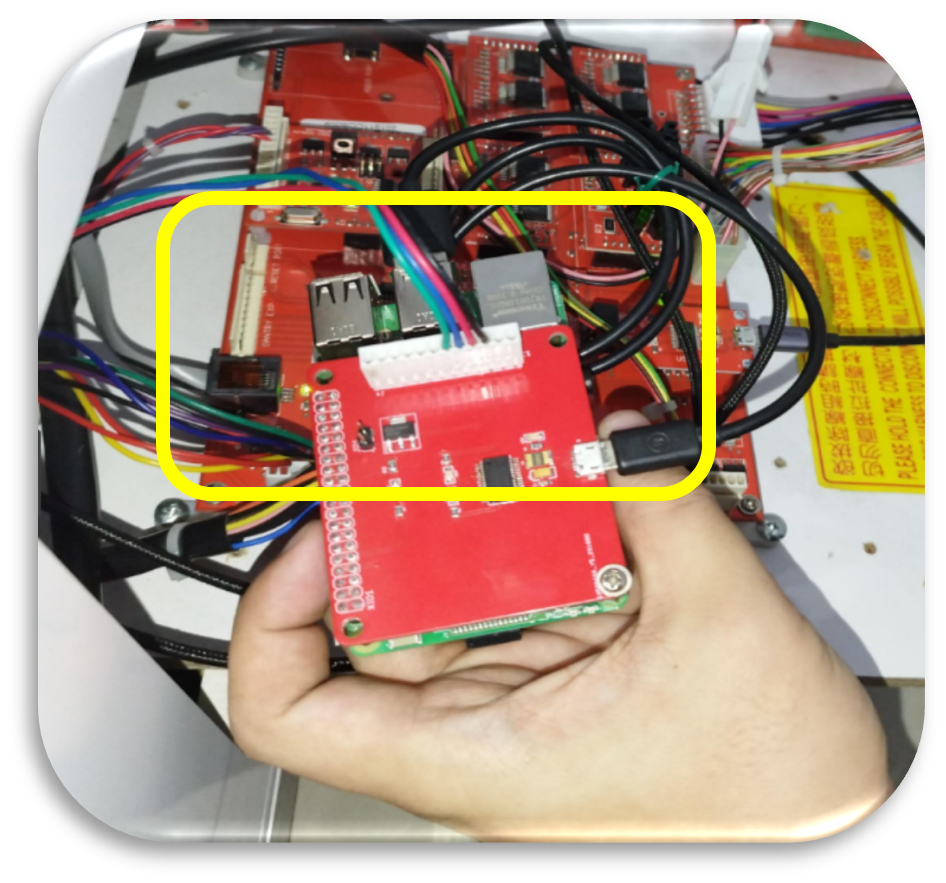
Step 3. INSTALLATION OF RASPI POWER SUPPLY
a. While machine is still on, disconnect the micro usb power of the raspi
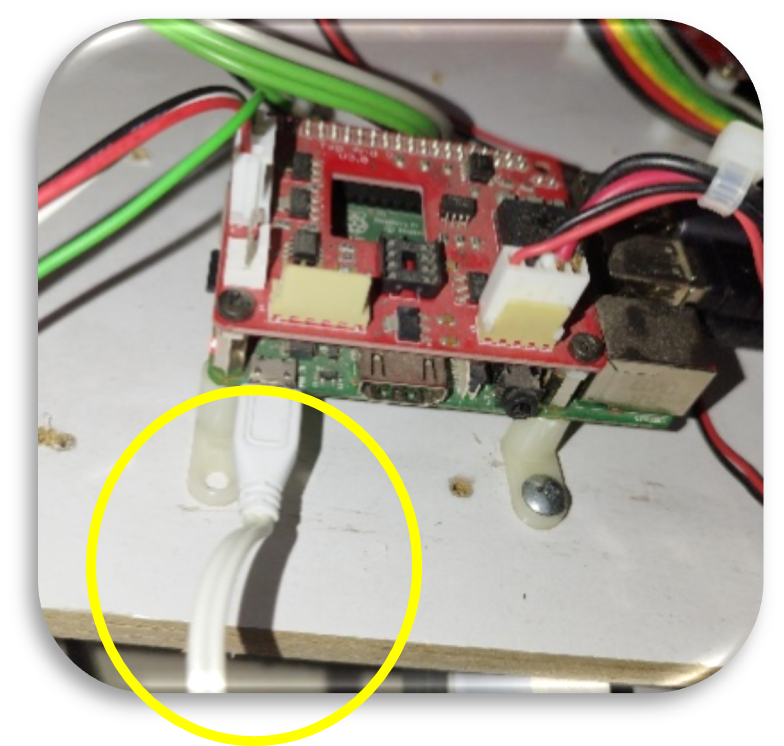
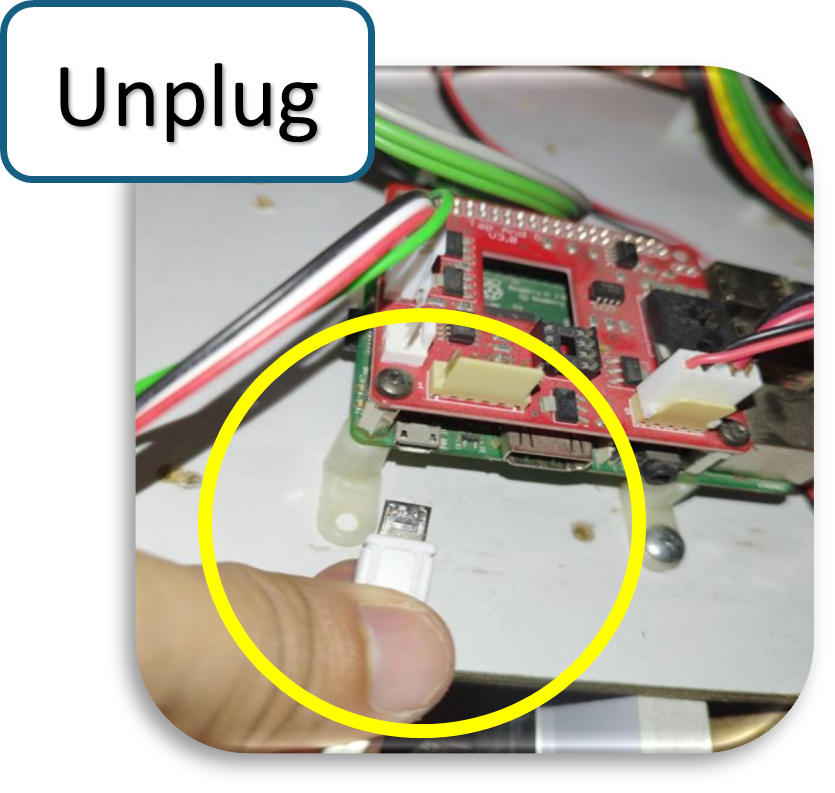
b. Connect to the micro-usb power of the LCD Programmer to power it on
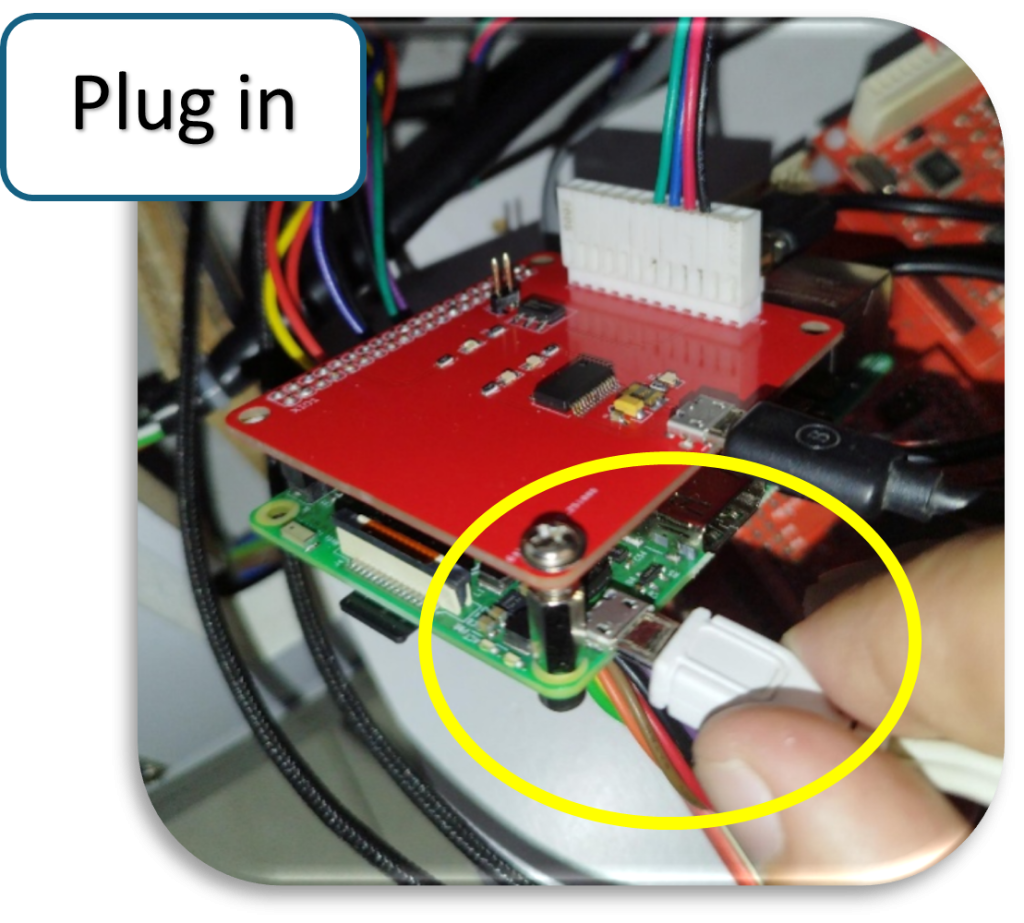
Step 4. UPLOADING OF PROGRAM TO LCD
a. The LCD will automatically light up and upload the program once the raspi power supply is connected. It is normal to see a blank screen while uploading
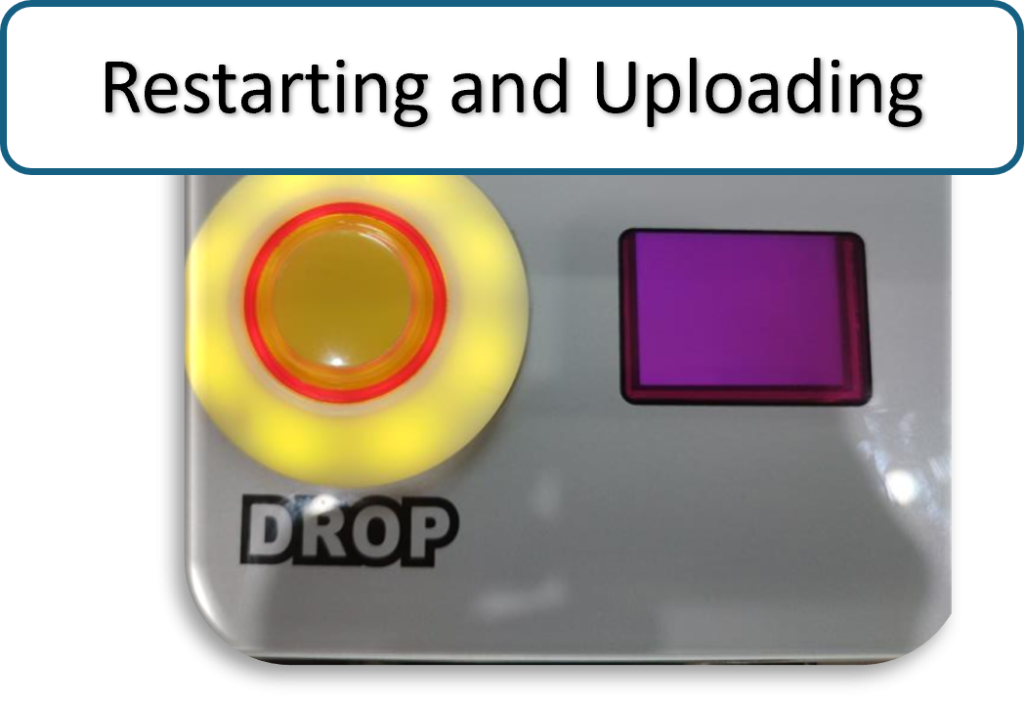
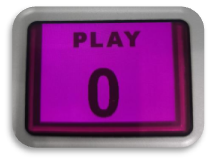
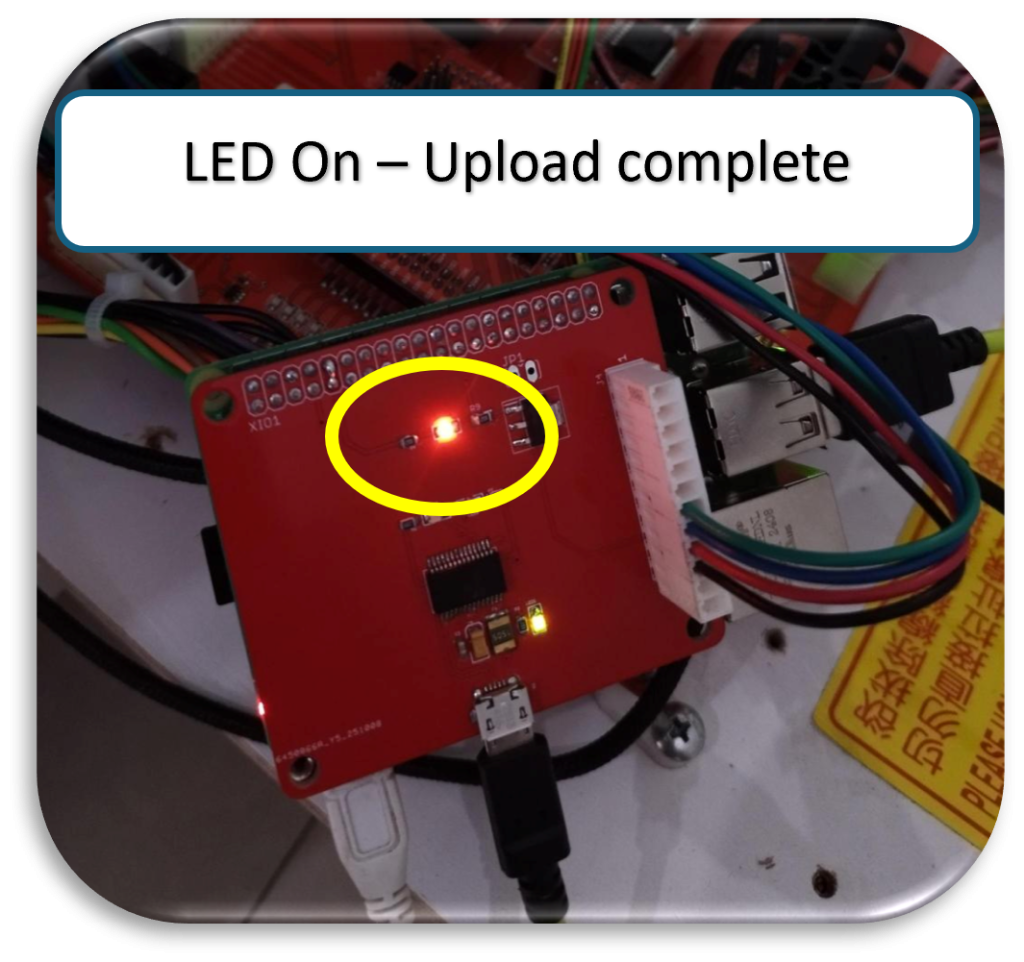
b. The LCD will restart once the upload is done and will display (PLAY 00). This can also be confirmed with the LED status of the LCD Programmer
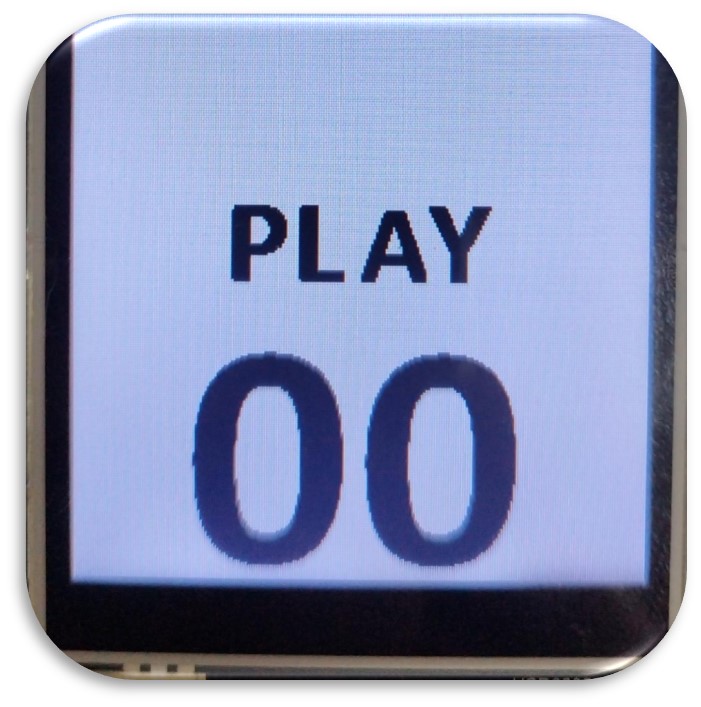
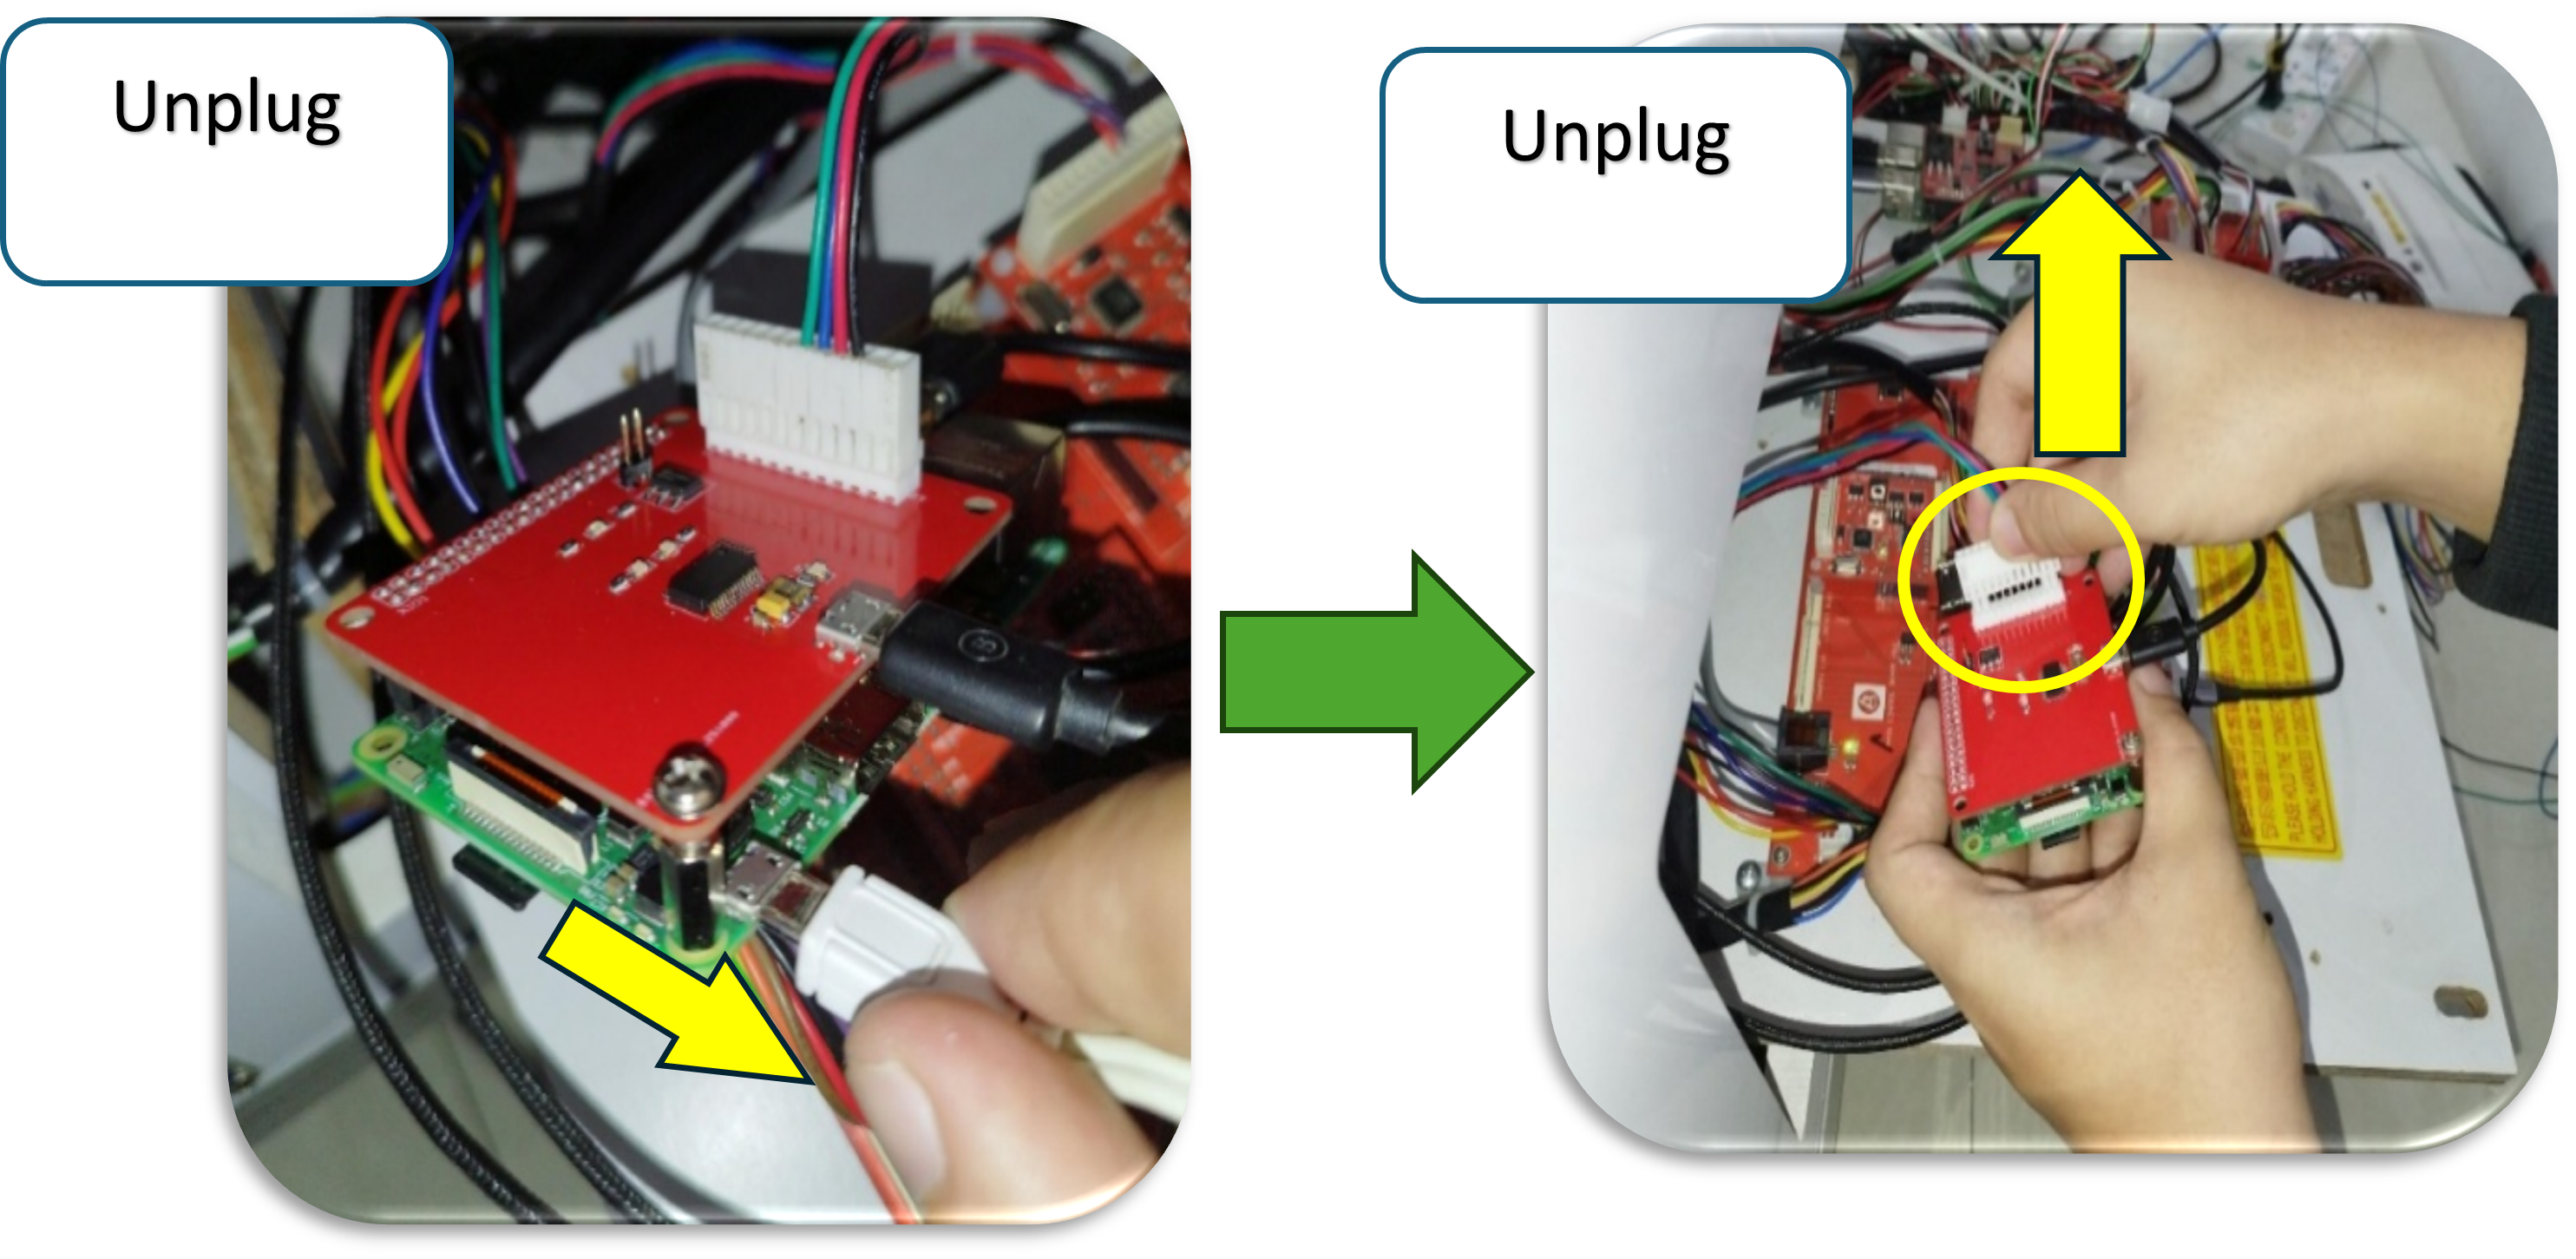
c. Once upload is done, unplug the micro-usb power first then the LCD Plug on the LCD Programmer.
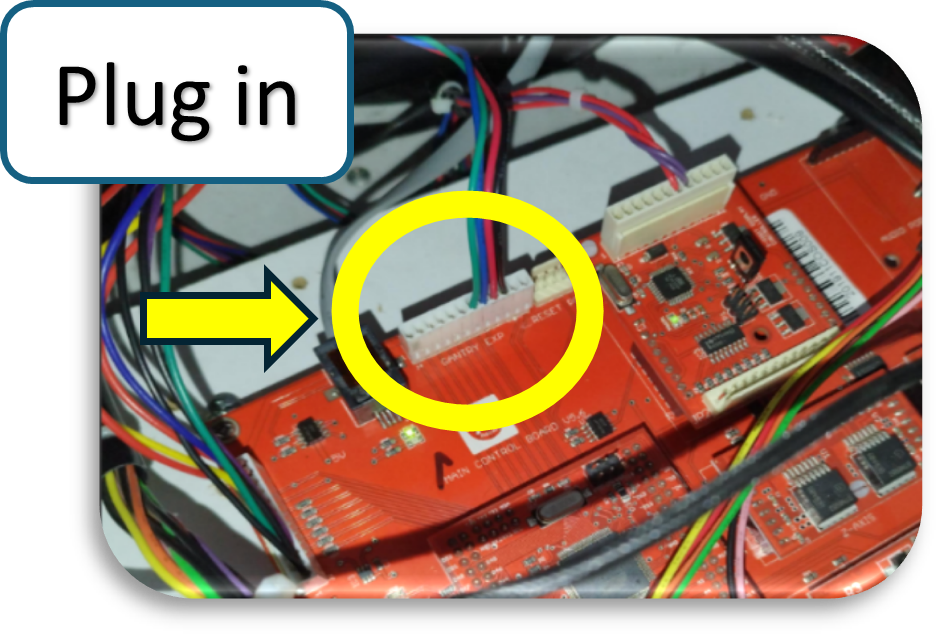
d. Then plug the LCD Plug back into the GANTRY EXP header on the mainboard and the micro-usb power back on the raspi of the machine.
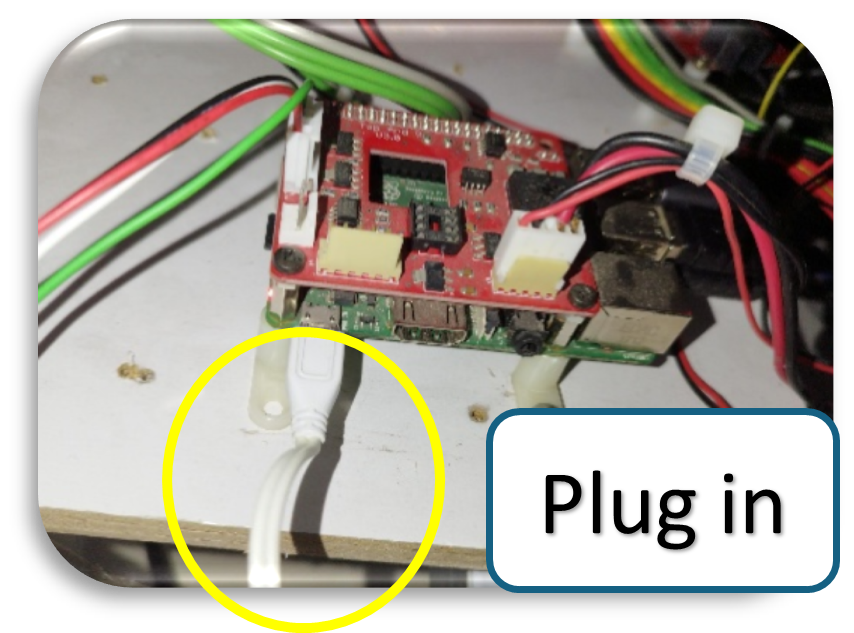
e. The machine will reboot as the raspi was powered back on. Wait for the $5.4 on the card reader before testing the new LCD with the new program
Step 5. TESTING OF LCD with NEW PROGRAM
a. Hold the test button until the display of the LCD changes. (Approx. 10 secs)
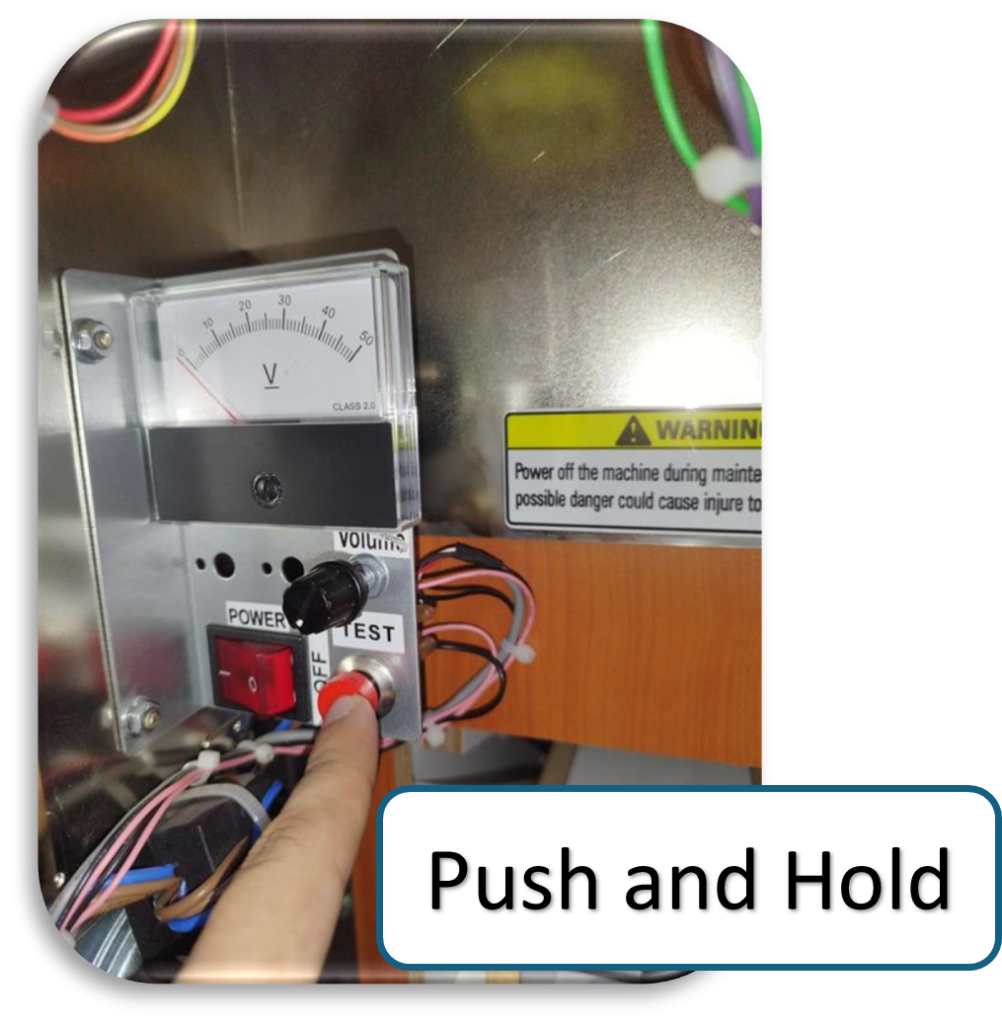
b. Setting page should be visible. See photo below
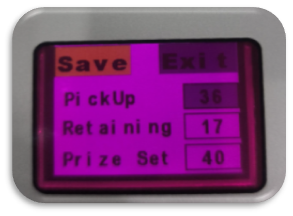
c. In the settings page, change the settings using the joystick and drop button
i. In the settings page you can change the settings using the joystick and drop button
ii. Change values by moving LEFT to decrease and RIGHT to increase the values
iii. Navigating to save or exit and pressing the drop button will activate Save/Exit button.
d. Saving the new settings:
i. Navigate to save button then press drop. A pop-up window will appear that says “Saving….”. Chossing “EXIT” does not show any pop-up instead it will exit the menu without any visible indicator
ii. During Saving the claw will go down, close for a brief moment then go back up. This will be the indicator that the saving has been done.
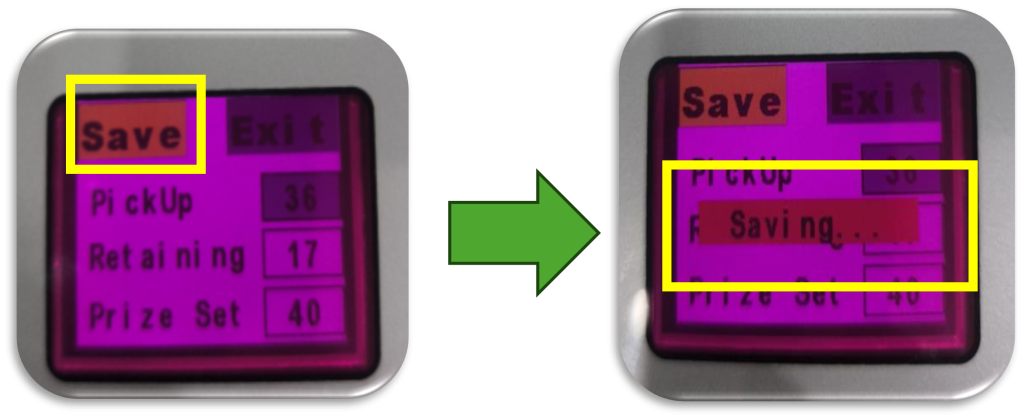
iii. Once the saving is done it will exit the saving page and will go back to stand by page