Prize Depot Wood Back: 3 x headers
Prize Depot Glass Back: 4 x headers
Double Depot: 3 x headers
Movie Star Wood Back: 3 x headers
Movie Star Glass Back: 3 x headers, 1 x sticker
Footy Fever: 3 x headers
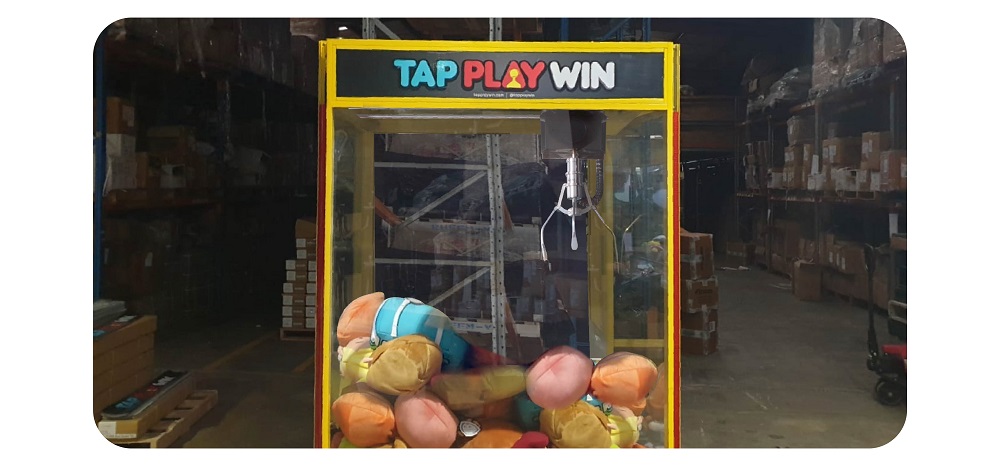
KoalaKrane/Prize Arena: 3 x headers
Win EveryTime Wood Back: 3 x headers
Win EveryTime Glass Back: 3 x headers, 1 x sticker
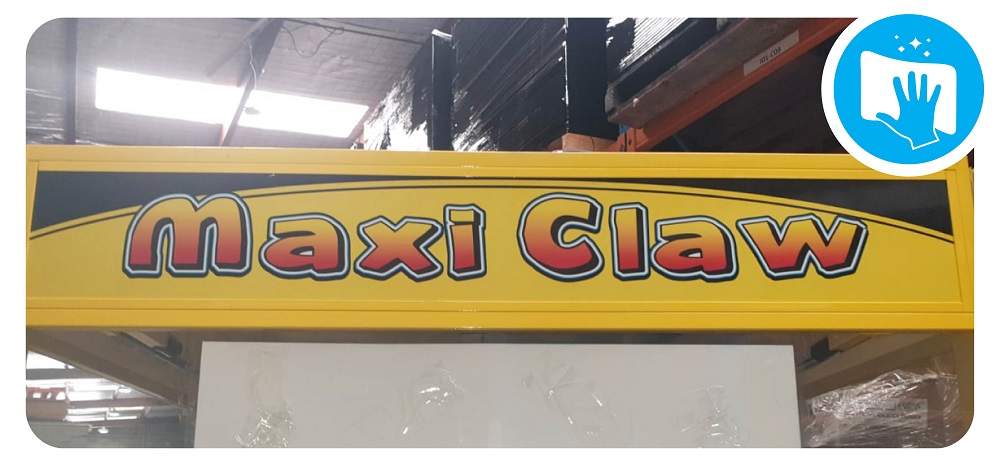
Maxi Claw: 3 x headers, 1 x sticker
The Claw: 2 x side headers, 1 x round front header
Toy Soldier: 3 x headers
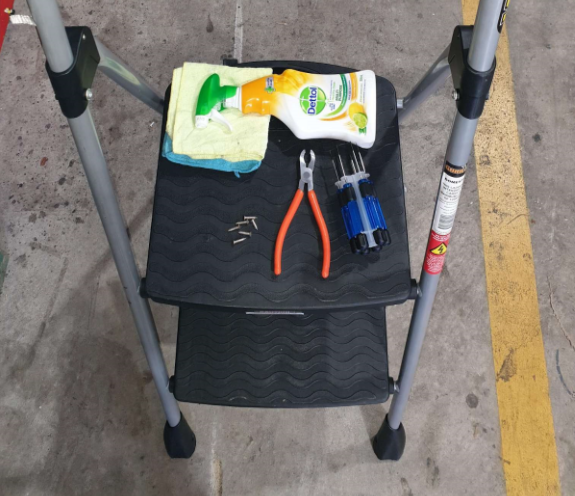
Tools needed:
- Hex Key set
- Screw removal pliers
- Spare screws
- Step ladder
- Cloth
- Cleaning spray
Step 1: Secure machine and set up ladder
- Ensure all wheels on the machine are locked
- Carefully place ladder by the side of the machine.
- Check the ladder is fully extended and sturdy before placing your body weight onto it.
- Stand on the ladder so you can see the screws.
Step 2. Remove the Screws and covers
- Using the Hex screwdriver provided remove the screws from the plastic corner covers.Ensure you put them inside a container for safe keeping.
- Remove the plastic corners first, carefully place them on top of the machine so they don’t get lost or become a trip hazard.
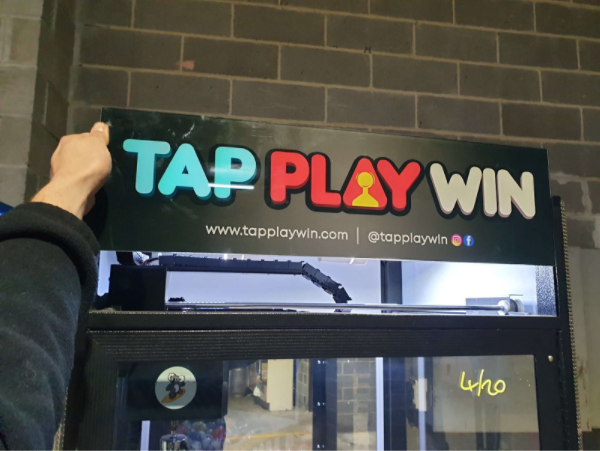
Step 3. Remove the old headers
- Slide the old headers upwards to remove
- Place them somewhere safe and out of the way (inside your shopping trolley)
Step 4. Insert your new headers
- Using the same method you used to remove the old headers, insert the new ones. Slide the headers downwards into position
Step 5. Add the bezels, covers and screws
- First add the metal Bezel and screw it into place with the shorter hex screws
- Add the Plastic corner covers, screw them in place with the longer hex screws
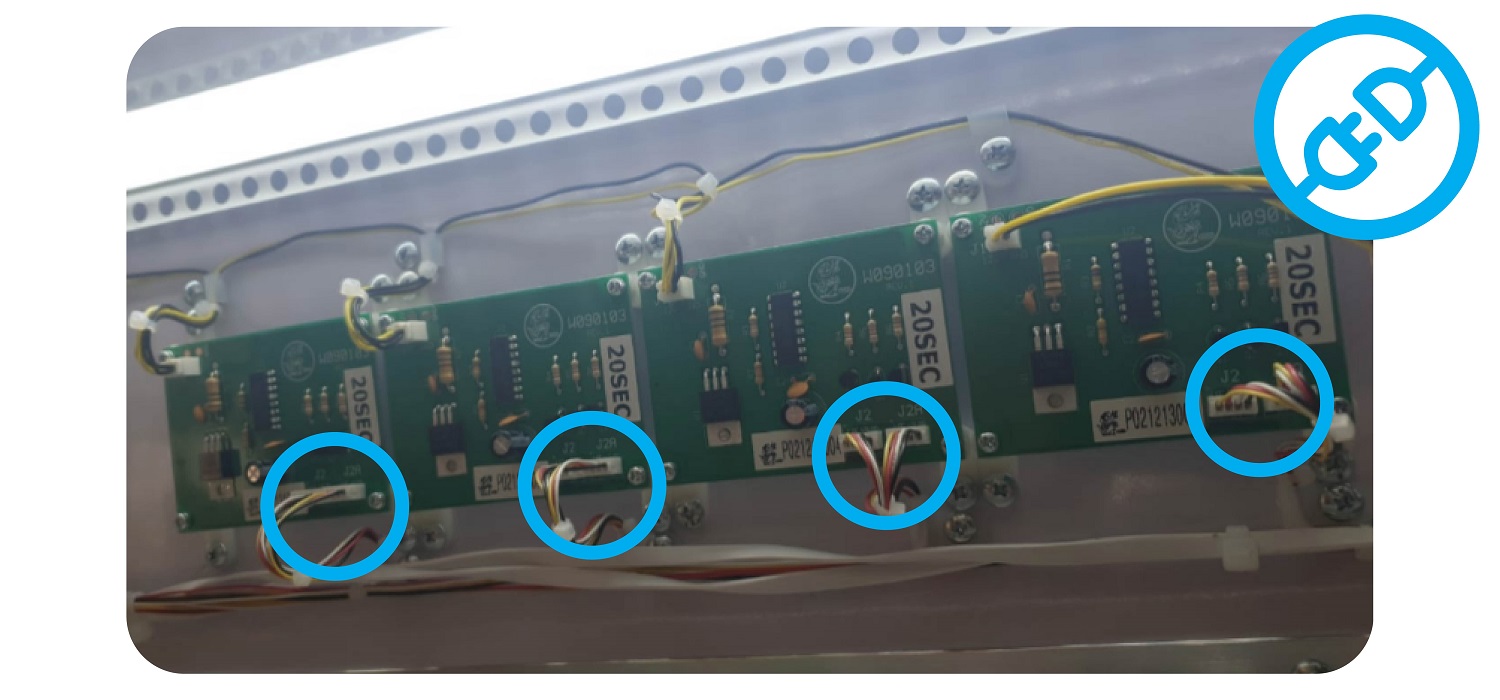
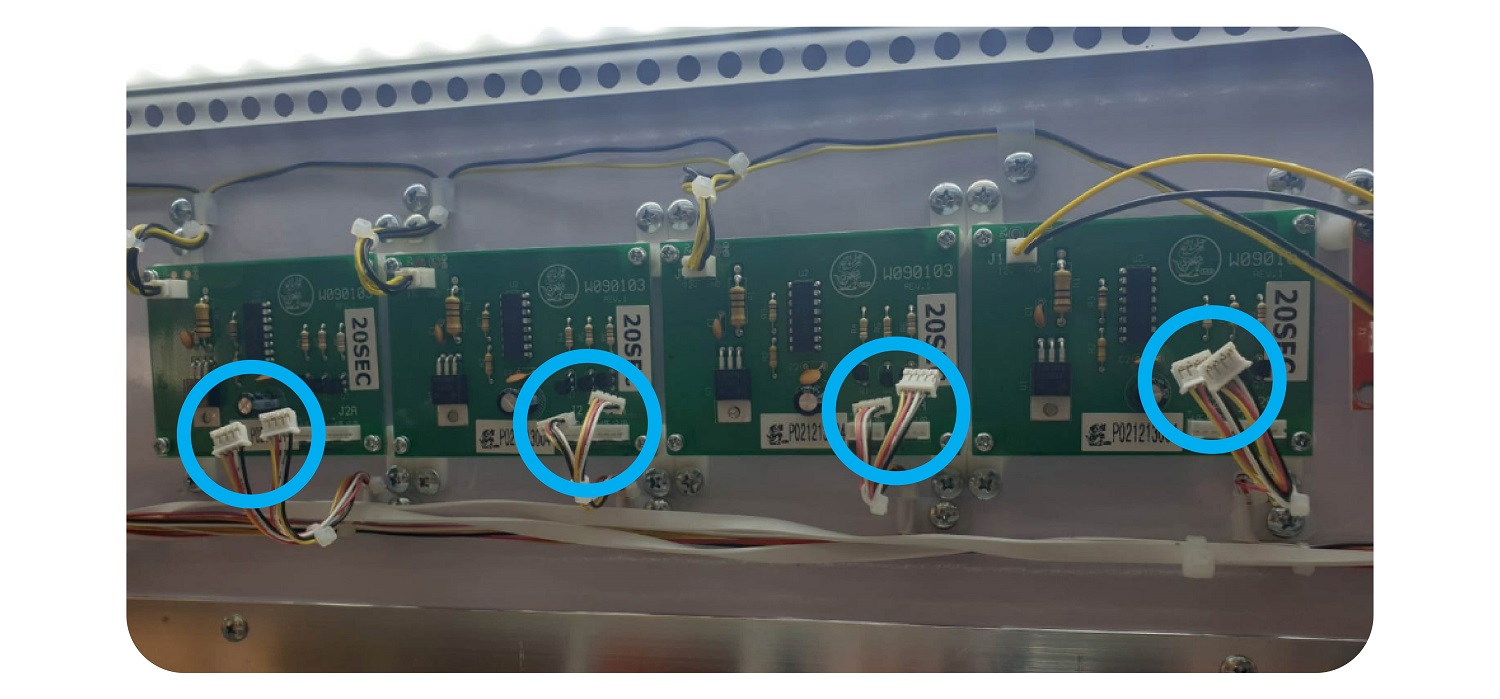
Step 6: Prize Depot & Double Depot Only
- Unplug the output of the boards above to turn off the lights that light up the headers.
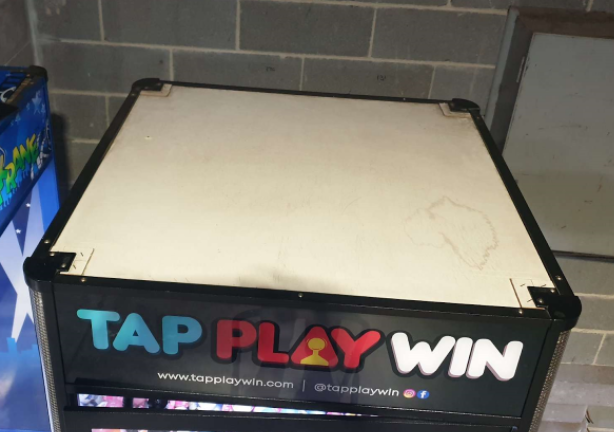
Step 7: Clear workspace
- Once you have changed the headers and and secured them and the bezels/covers, ensure you clear the area around you of any tools and screws. Check on top of the machine and around it.
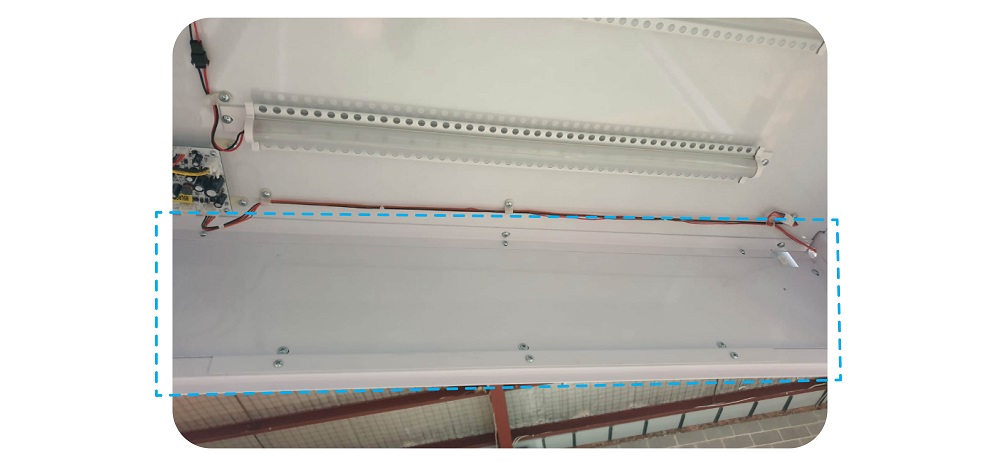
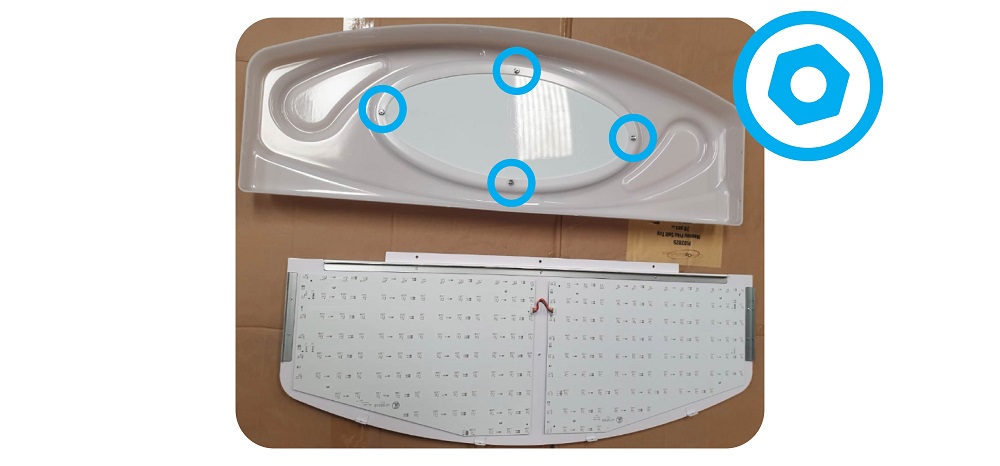
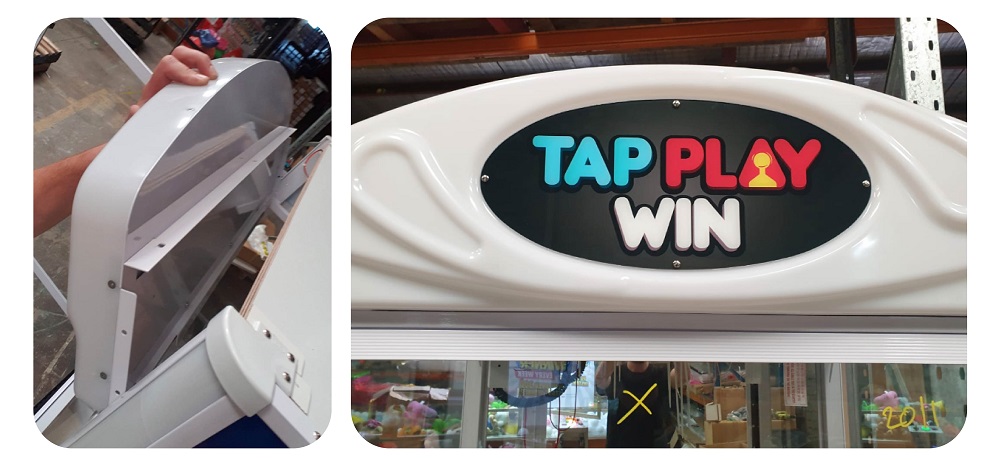
The Claw Front Header
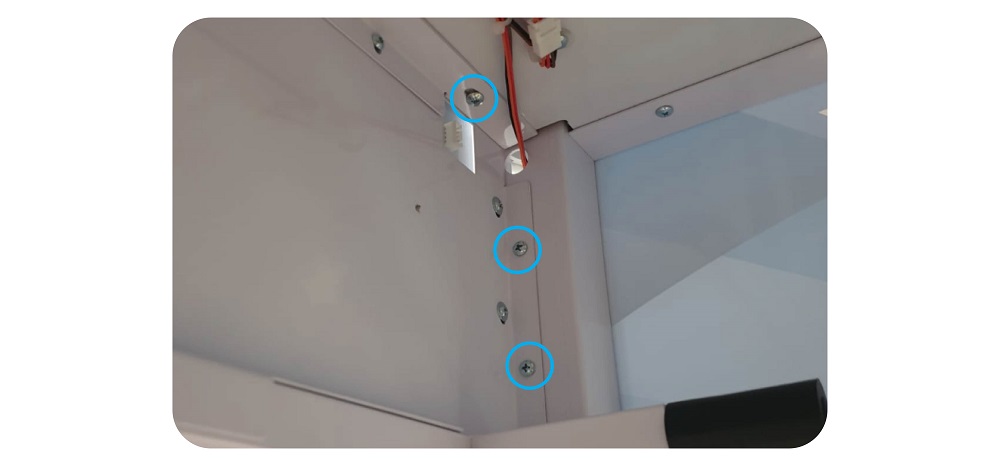
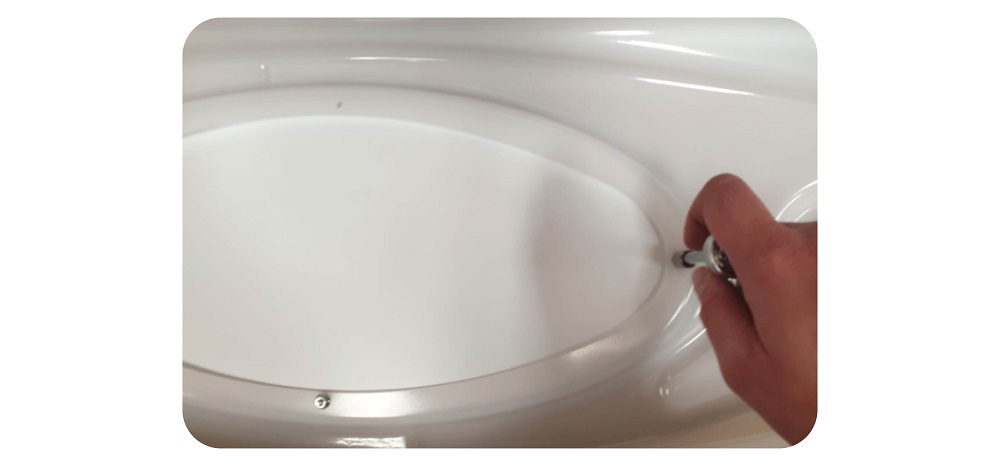
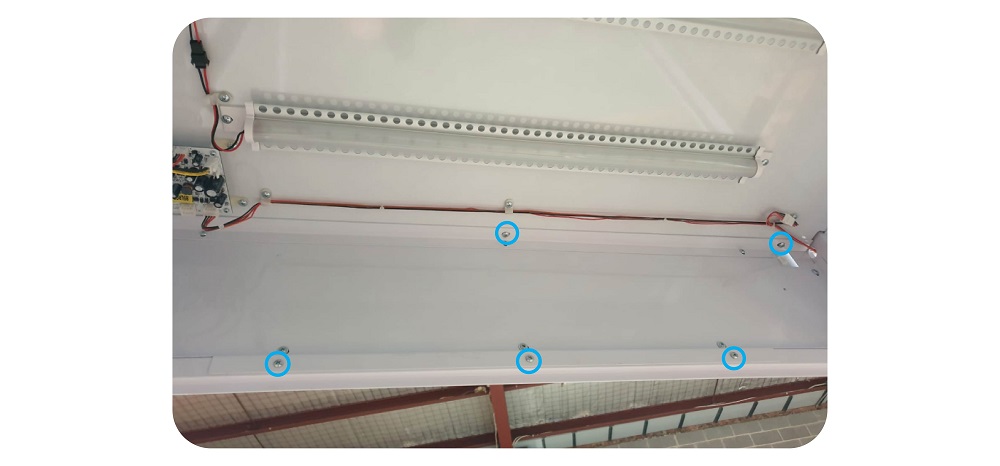
Step 1:
Go inside the machine and undo the 10 x screws that secure the header, so you can remove it:
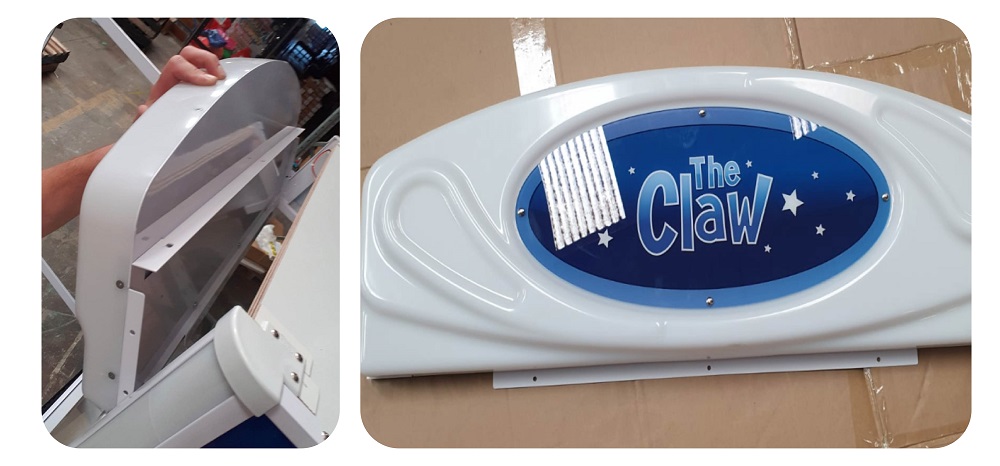
Step 2: Remove the header
Unplug the wiring from the header, and gently remove it and place it on a clean surface.
Place it somewhere safe and out of the way to prevent it becoming a trip hazard.
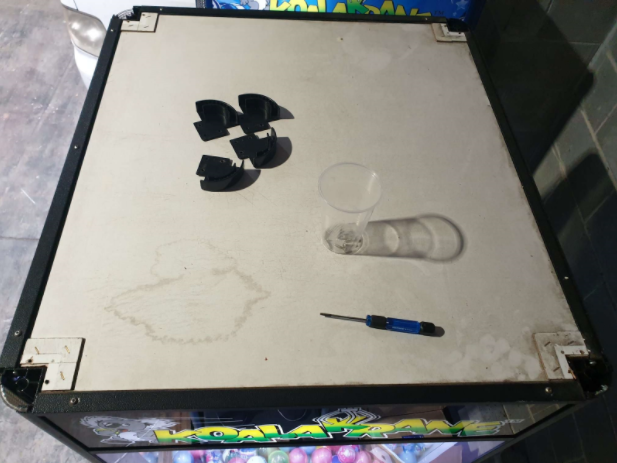
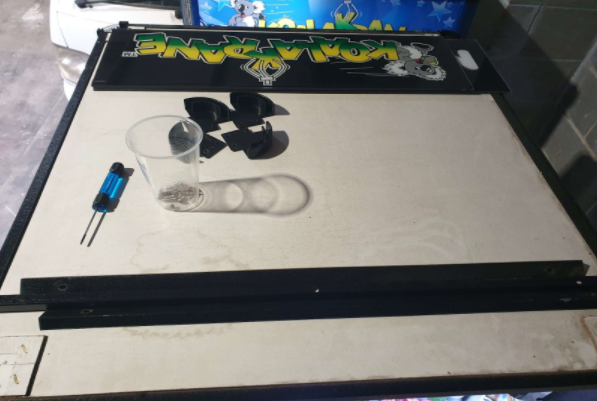
Step 3: Remove the Screws and corner covers
- Using the Hex screwdriver provided remove the screws from the plastic corner covers.Ensure you put them inside a container for safe keeping.
- Remove the plastic corners first, carefully place them on top of the machine so they don’t get lost or become a trip hazard.
Step 4. Remove the old headers
Slide the old headers upwards to remove
Step 5. Insert your new headers
Using the same method you used to remove the old headers, insert the new ones.
Slide the headers downwards into position
Step 6. Add the bezels, covers and screws
- First add the metal Bezel and screw it into place with the shorter hex screws
- Add the Plastic corner covers, screw them in place with the longer hex screws
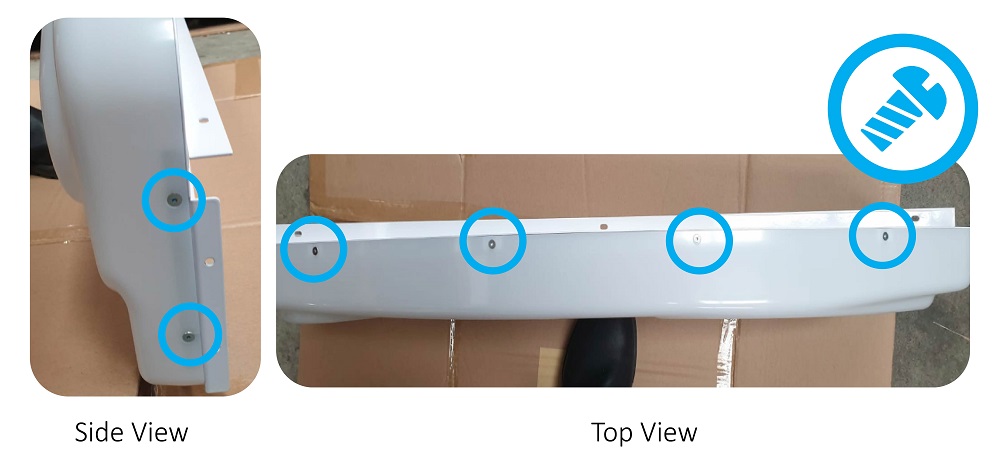
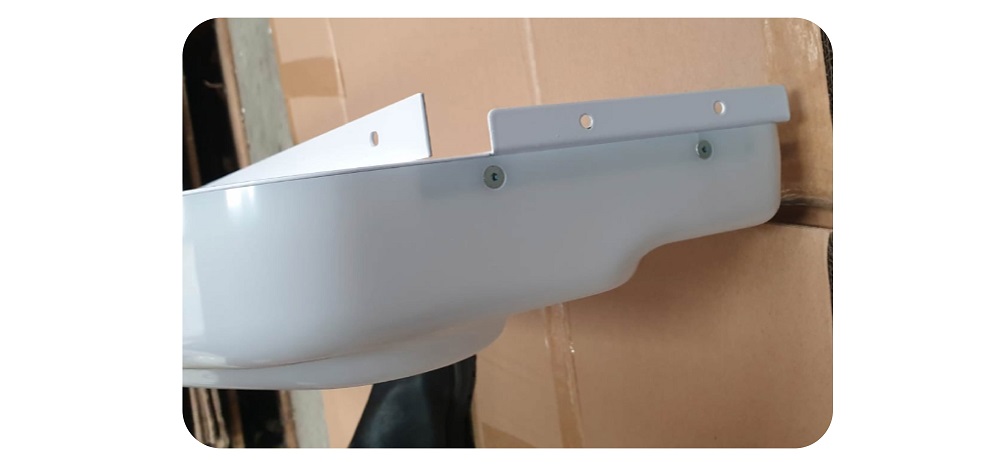
Step 7: Remove the front case of the header
Using a Hex driver, unscrew the 12 screws, 4 on the top, 4 on the bottom and 2 on each side:
Step 8: Swap the graphics plate
Using an 8mm socket set, undo the 4 nuts holding the graphics plate in place:
Remove the Old graphics plate:
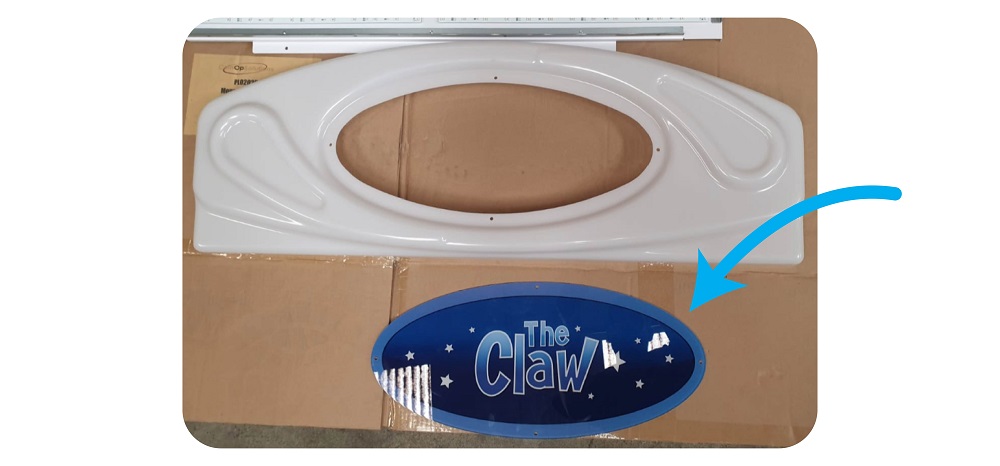
Take the new graphics plate, and attach it to the header using the 8mm nuts and bolts. Don’t tighten too much as you may damage the plastic:
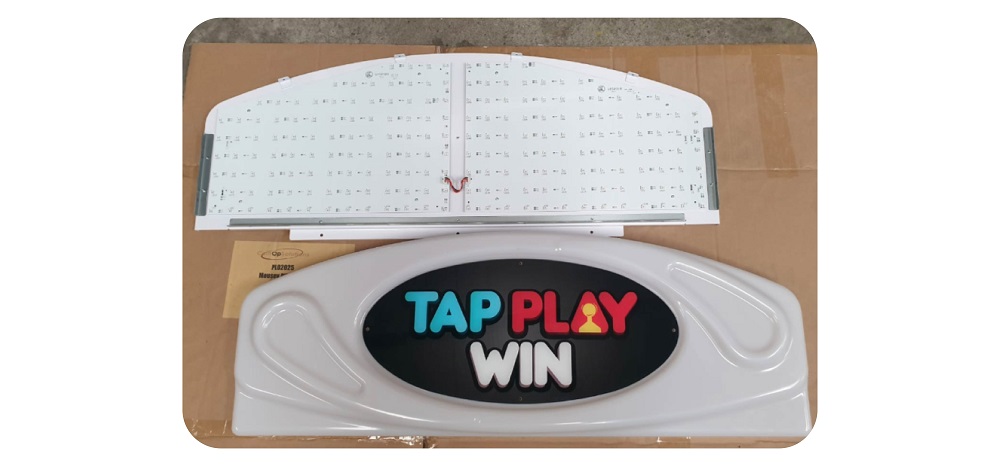
Step 9: Put the header back together
Put the front part of the head back together with the back part.
Using a Hex driver, screw the 12 screws, 4 on the top, 4 on the bottom and 2 on each side back together.
BE CAREFUL NOT TO SCREW TOO TIGHT AS THIS WILL CRACK THE PLASTIC
Step 10: Reattach the header
Put the header back on the machine. First put the bottom bit in, then push forward until it slides into place. You may need to slightly push the ceiling of the machine upwards in order for the header to slide in.
Screw back in place the 10 x screws to secure the header:
Guide for adding sticker to machines
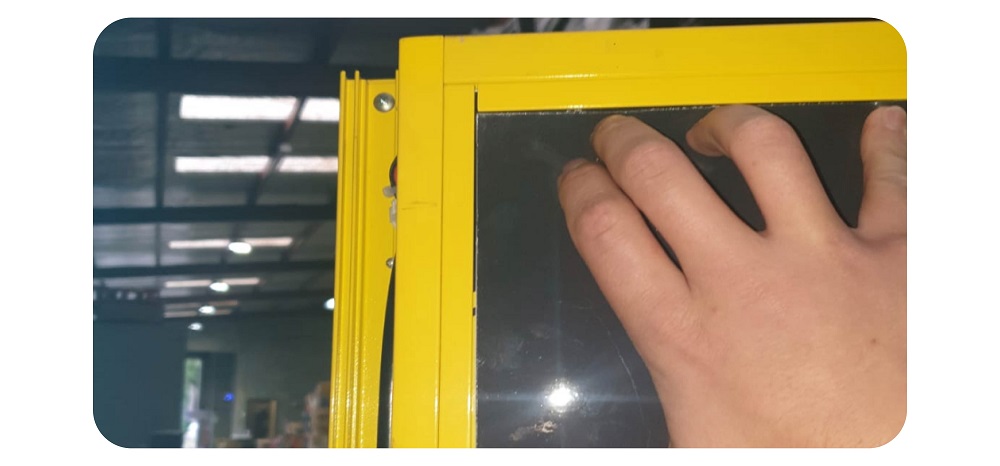
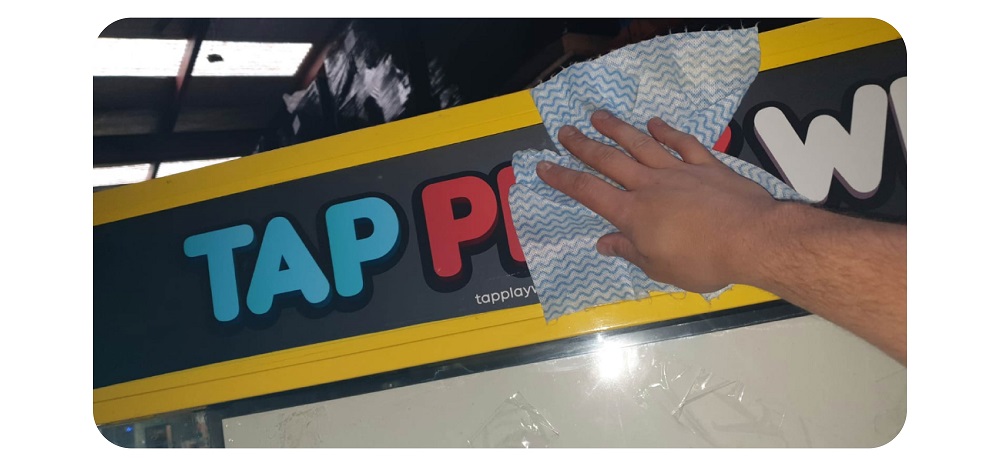
Step 1: Go to back of machine and clean the area you will be applying the sticker:
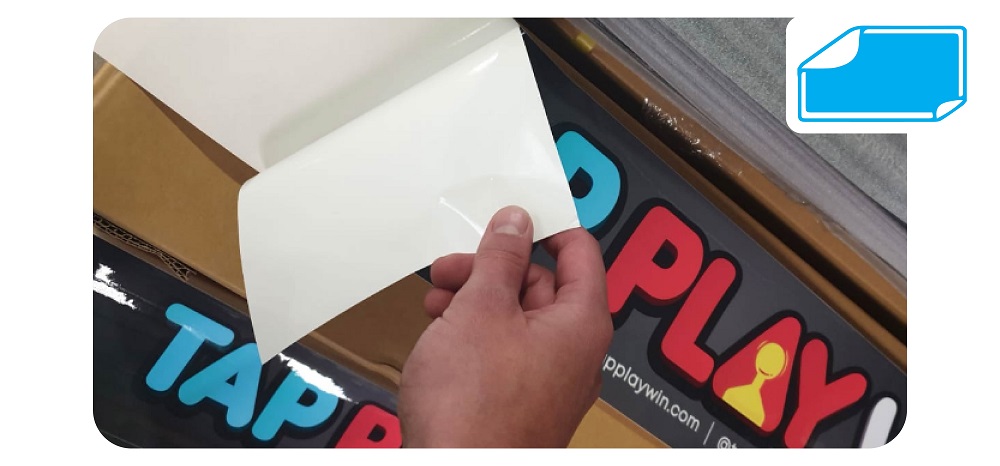
Step 2: Peel sticker from paper:
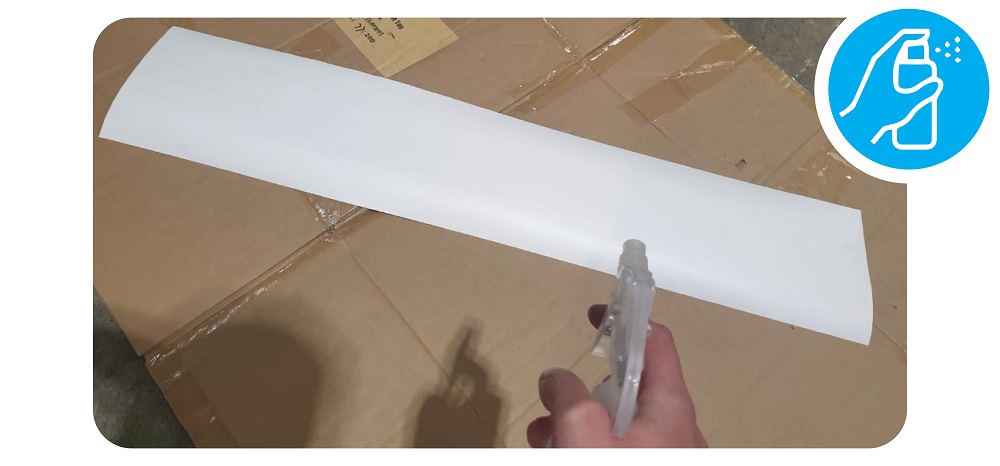
Step 3: Spray a little water on the sticky side
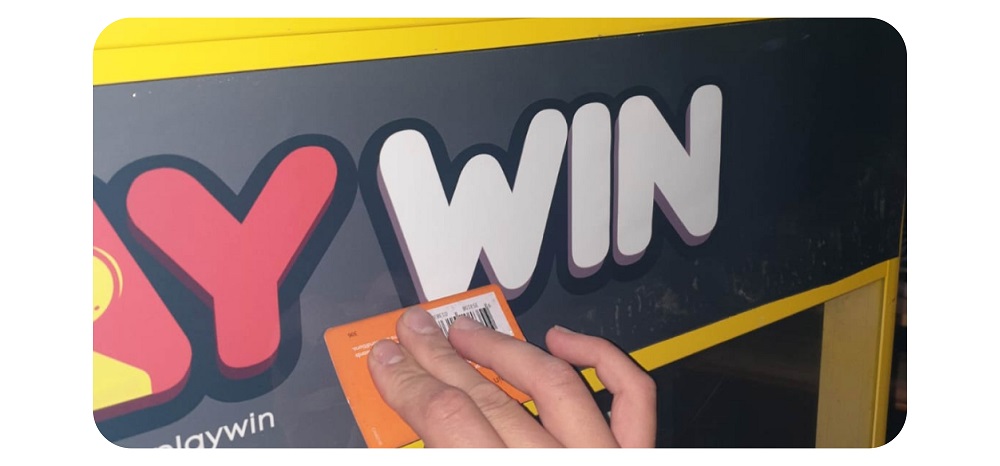
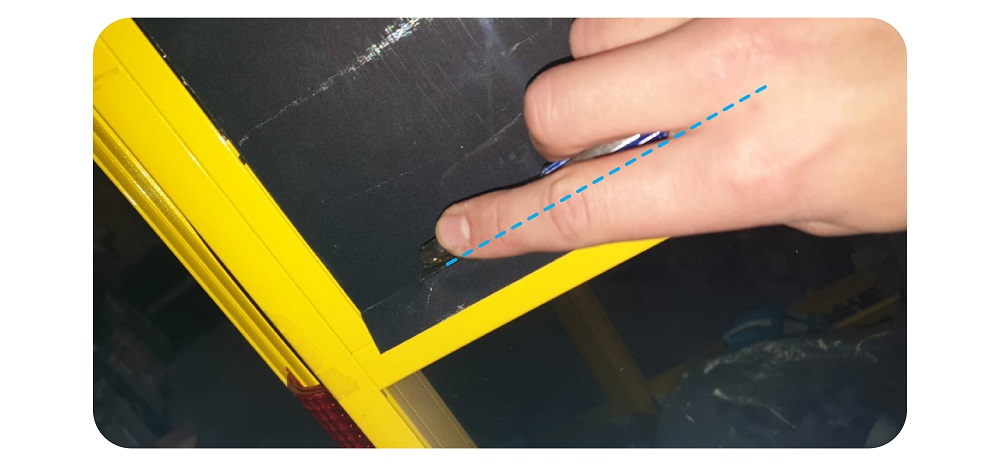
Step 4: Apply the sticker
Carefully line up the edge and top of the sticker with the bezels of the machine:
Keep the sticker straight and in line with th bezel at the top, pull it tight to avoid extra bubbles.
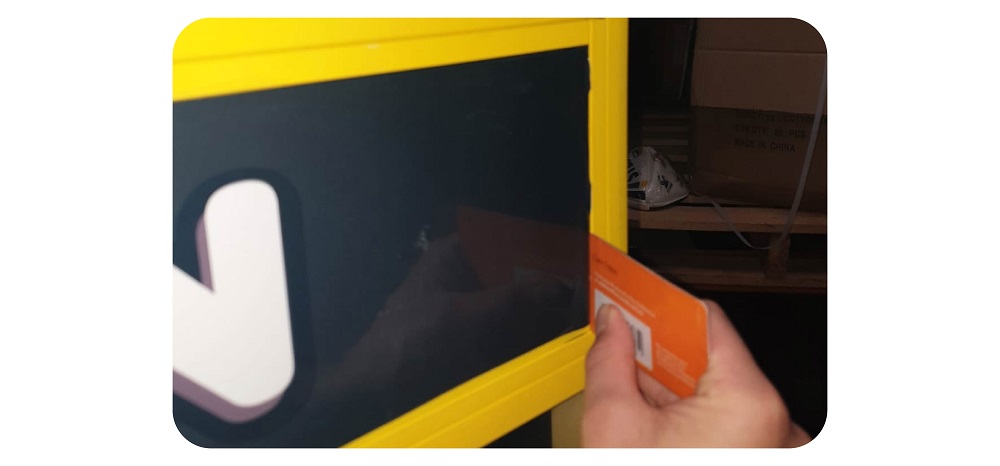
Once stock on., use a card inside a cloth (to avoid scratches all the way across to remove any water bubbles. It’s best to do this in an upward motion.
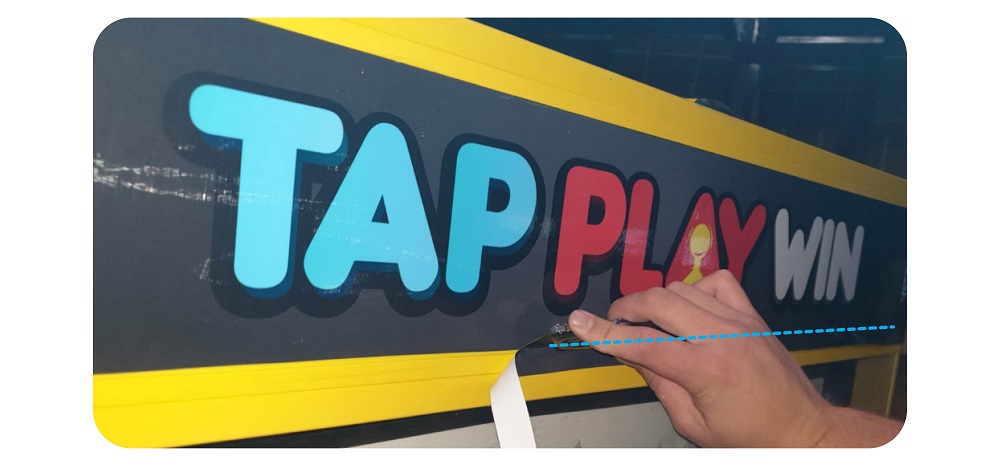
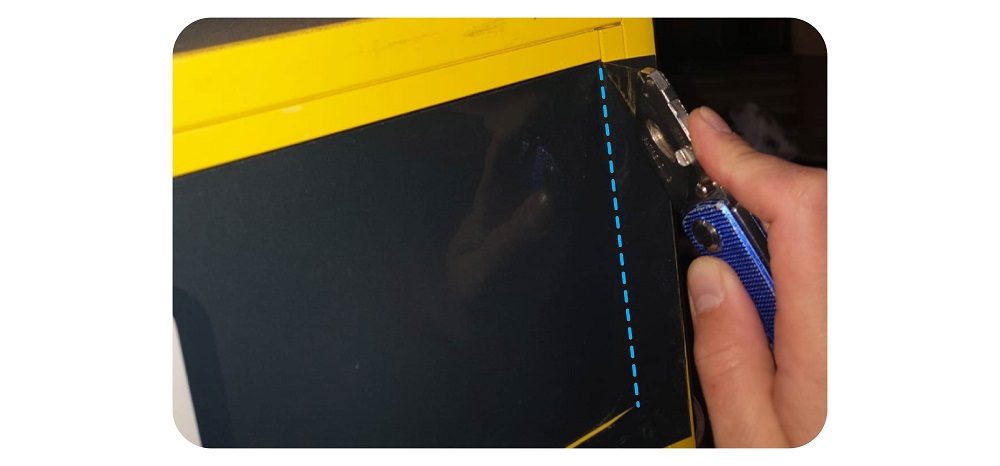
Step 5: Trim the sticker
Once the sticker is nicely applied and free of bubbles, get a very sharp knife or scalpel and trim the excess sticker.
Use the machine’s bezel to guide you and ensure you keep it very straight.
Step 6: Stick the edges and remove an bubbles
Again using a card inside a cloth, push down the edges of the sticker and force out any bubbles.
Step 7: Clean
Use a cloth to wipe off any dust/water from the sticker:
Finished Product