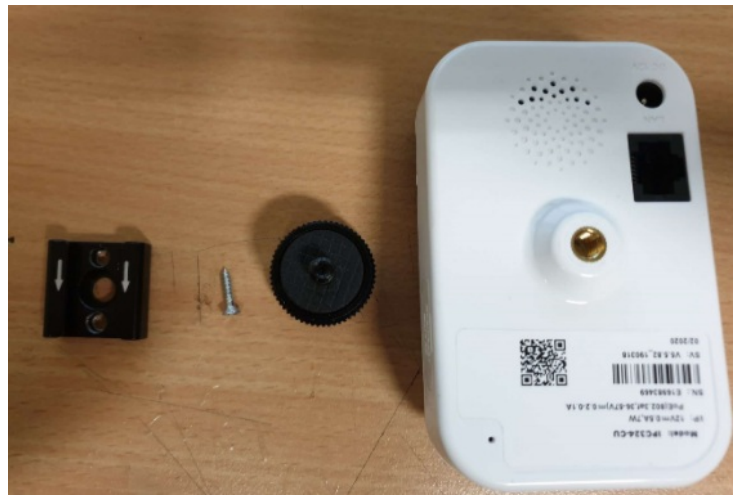
Parts needed:
- Camera
- Bracket for Camera
- Power/Wiring Harness cable for camera
- Wiring Harness
- Screws
- Drill/screw gun

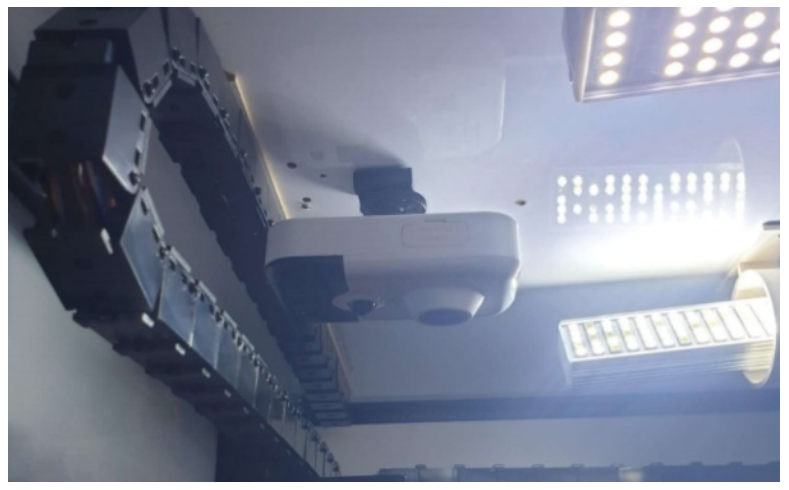
The camera will be installed where the red arrow points to, in the middle of the machine and to the left.:
Step 1: Attach the Small bracket to the machine
To connect the Camera bracket to the machine, drill a holes in the top using a 2mm drill bit.
Use the bracket as a reference for the hole, ensuring the bracket is at least 15cm away from the caterpillar clips:
Once you have made the holes, use the small screw provided to secure the bracket.
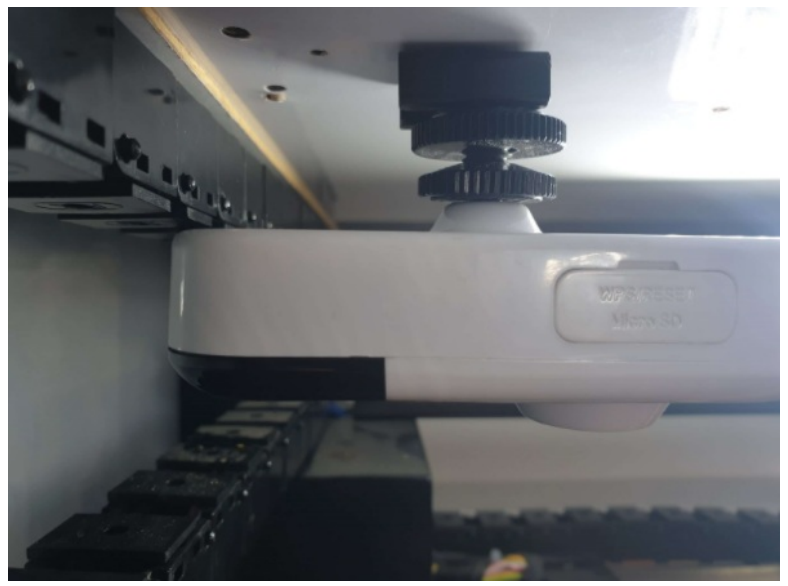
Step 2: Attach the larger bracket to the camera
Connect the other half of the bracket to the camera, ensuring you crew the fastener all the way to the camera base to keep it secure:
Step 3: Secure the 2 brackets together
Slide the bracket on the camera onto the bracket attached to the machine. Screw the fastener to secure.
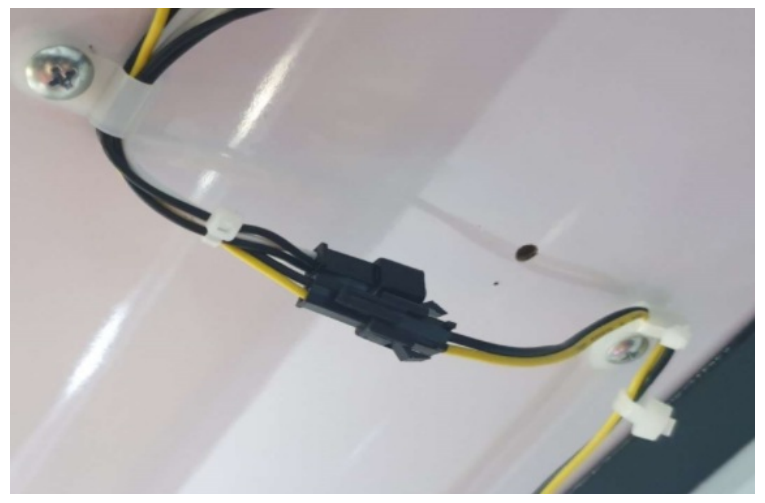
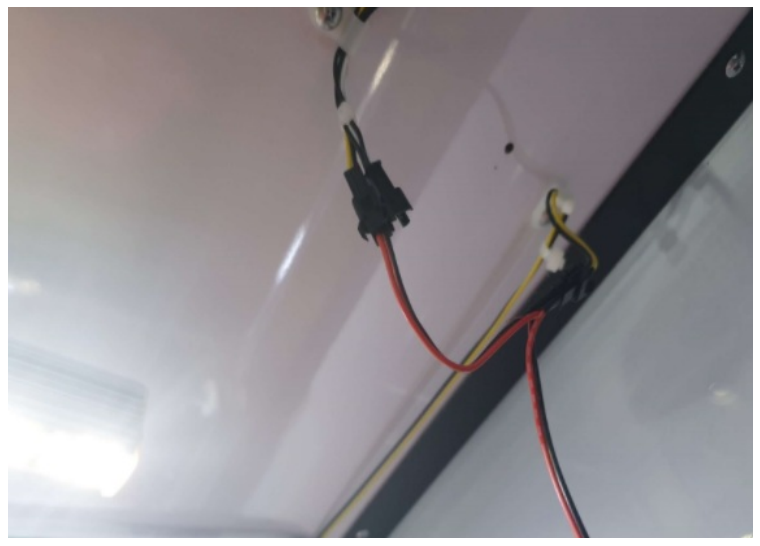
Step 4: Connect the wiring harness
Unplug the black and yellow harness from the wires running to the back flasher box and insert the new cable between the 2 connectors like so:
Step 5: Connect the harness to the camera
Connect the circular connector onto the cameras port like so:
Step 6: Tidy up the cables
Using cable ties, attach the new wiring harness to the existing cables in the machine like so:
Step 7: Confirm camera is connected
The indicator light on the camera should be flashing blue.
Once you have confirmed the camera is working, send an email to techsupport@coinopgroup.com to confirm the installation.
Once they have confirmed you can move on to your next machine.